Chemistry Program ModulesChemistry Programs
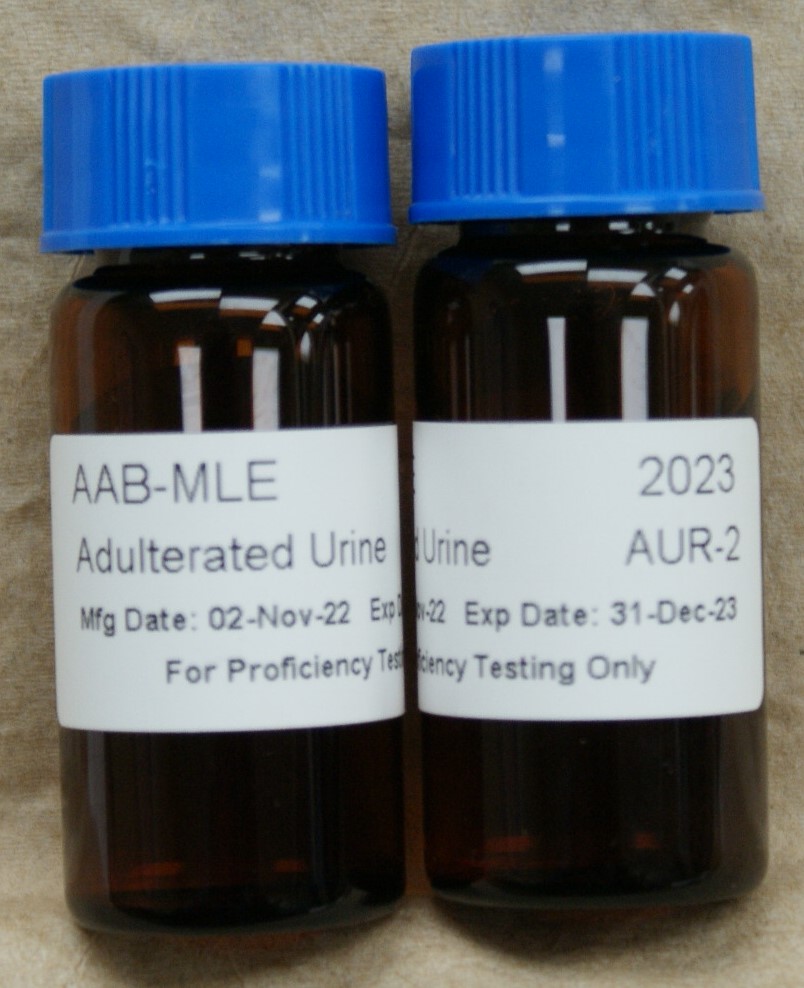
Instructions: AUR Specimens
(874 Adulterated Urine – Add-On)
1. These are liquid samples that contain 10.0 mL of urine. DO NOT USE the UDS, UA or UCH vials for Adulterated Urine Testing.
2. Remove the vials from the refrigerator and warm to room temperature (20-25°C).
3. Mix each sample well before testing. Open the vial and remove a portion for testing. Immediately recap the vials and return to the refrigerator.
4. Test each specimen in the same manner as you would test a patient sample.
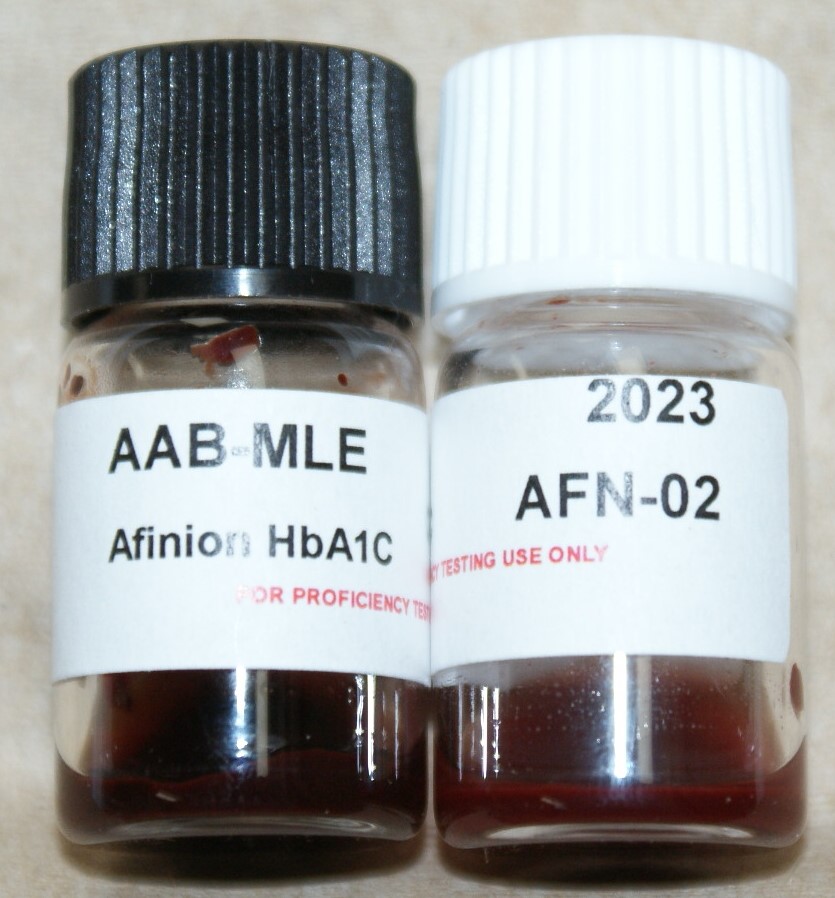
Instructions: AFN Specimens
The AFN specimens contain whole blood.
1. Remove the specimens from the refrigerator and warm to operating temperature (18-30°C). This should take about 30 minutes.
2. Remove the appropriate number of Test Cartridges from the refrigerator and warm to operating temperature (18-30°C). This should take about 15
minutes.
3. Mix each vial by shaking the vial for 30 seconds. Be sure to inspect the vial and ensure that the solution is thoroughly mixed before testing.
4. Using the integrated sampling device, collect a sample of the well mixed solution.
5. Test the sample in the same manner as you would test a patient sample.
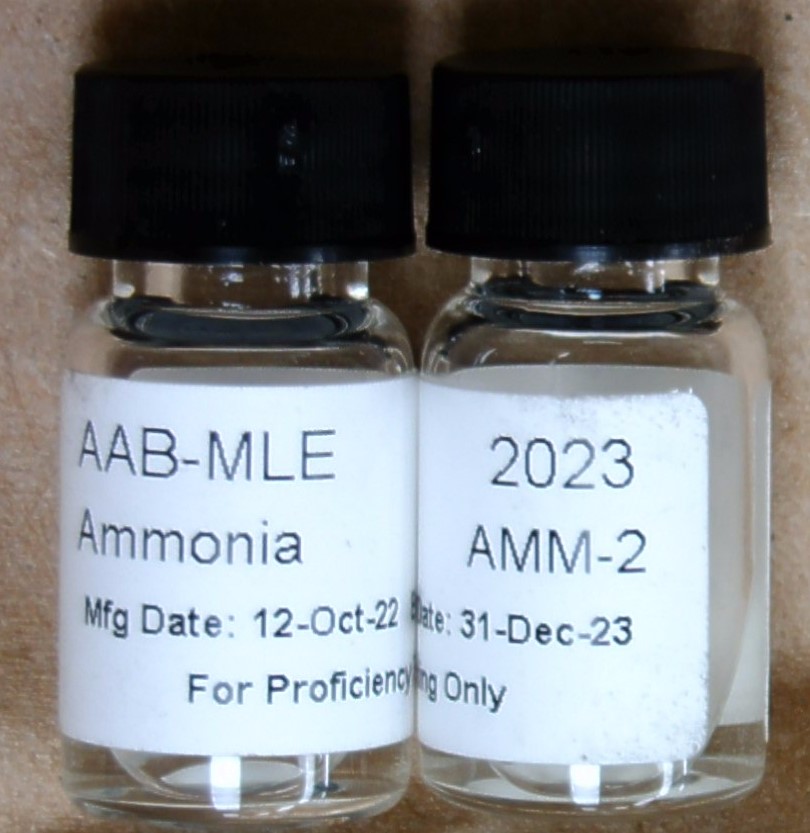
Instructions: AMM Specimens
1. Remove the specimens from the refrigerator and warm to room temperature (20-25°C). This should take about 15-20 minutes.
2. Mix each vial by inversion.
3. Test the sample immediately in the same manner as you would test a patient sample.
4. After sampling, return the vials to the refrigerator within 30 minutes. Complete all testing within 5 days of opening the vials. After all testing is completed, store the vials in the freezer until you receive the evaluation of your results. If needed, the sample then can be thawed and retested.
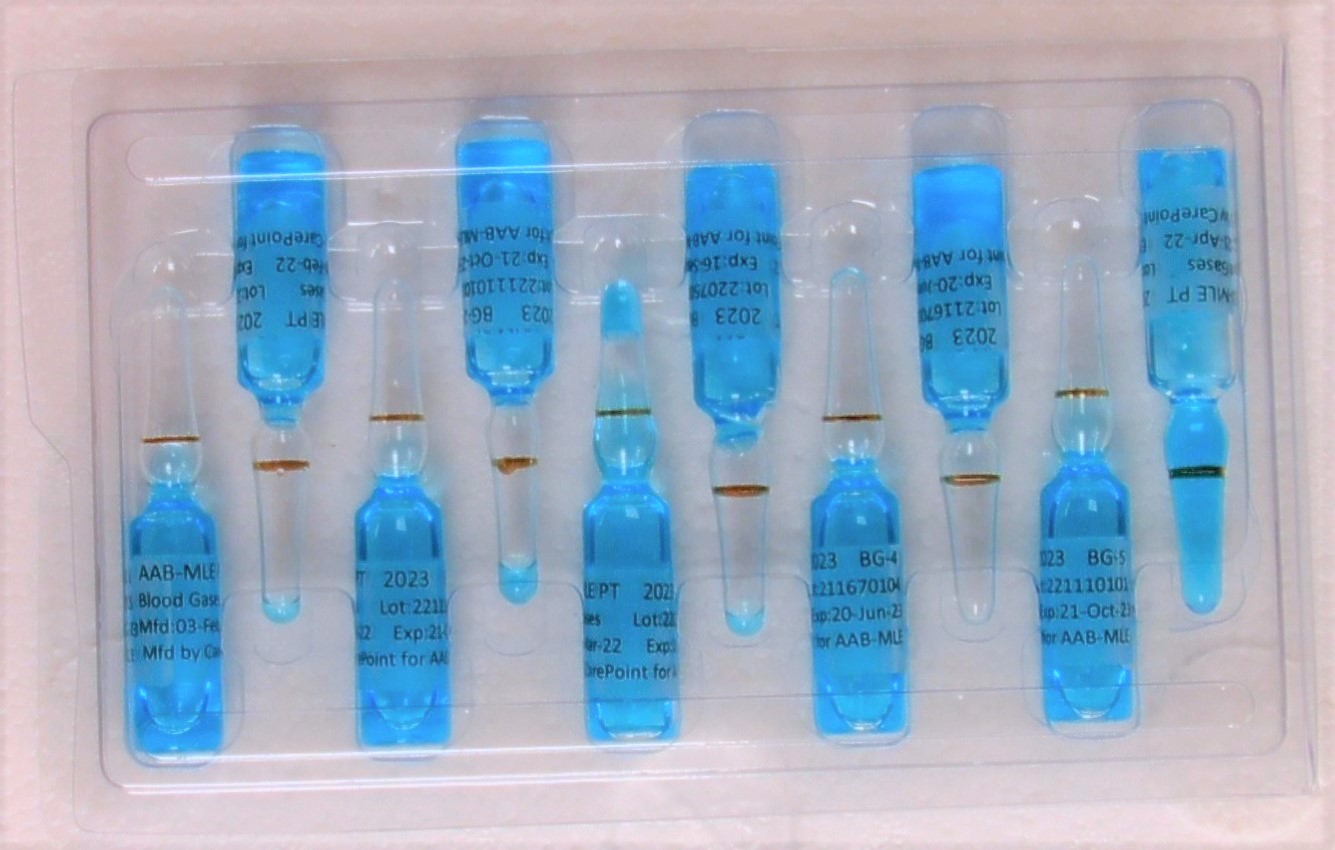
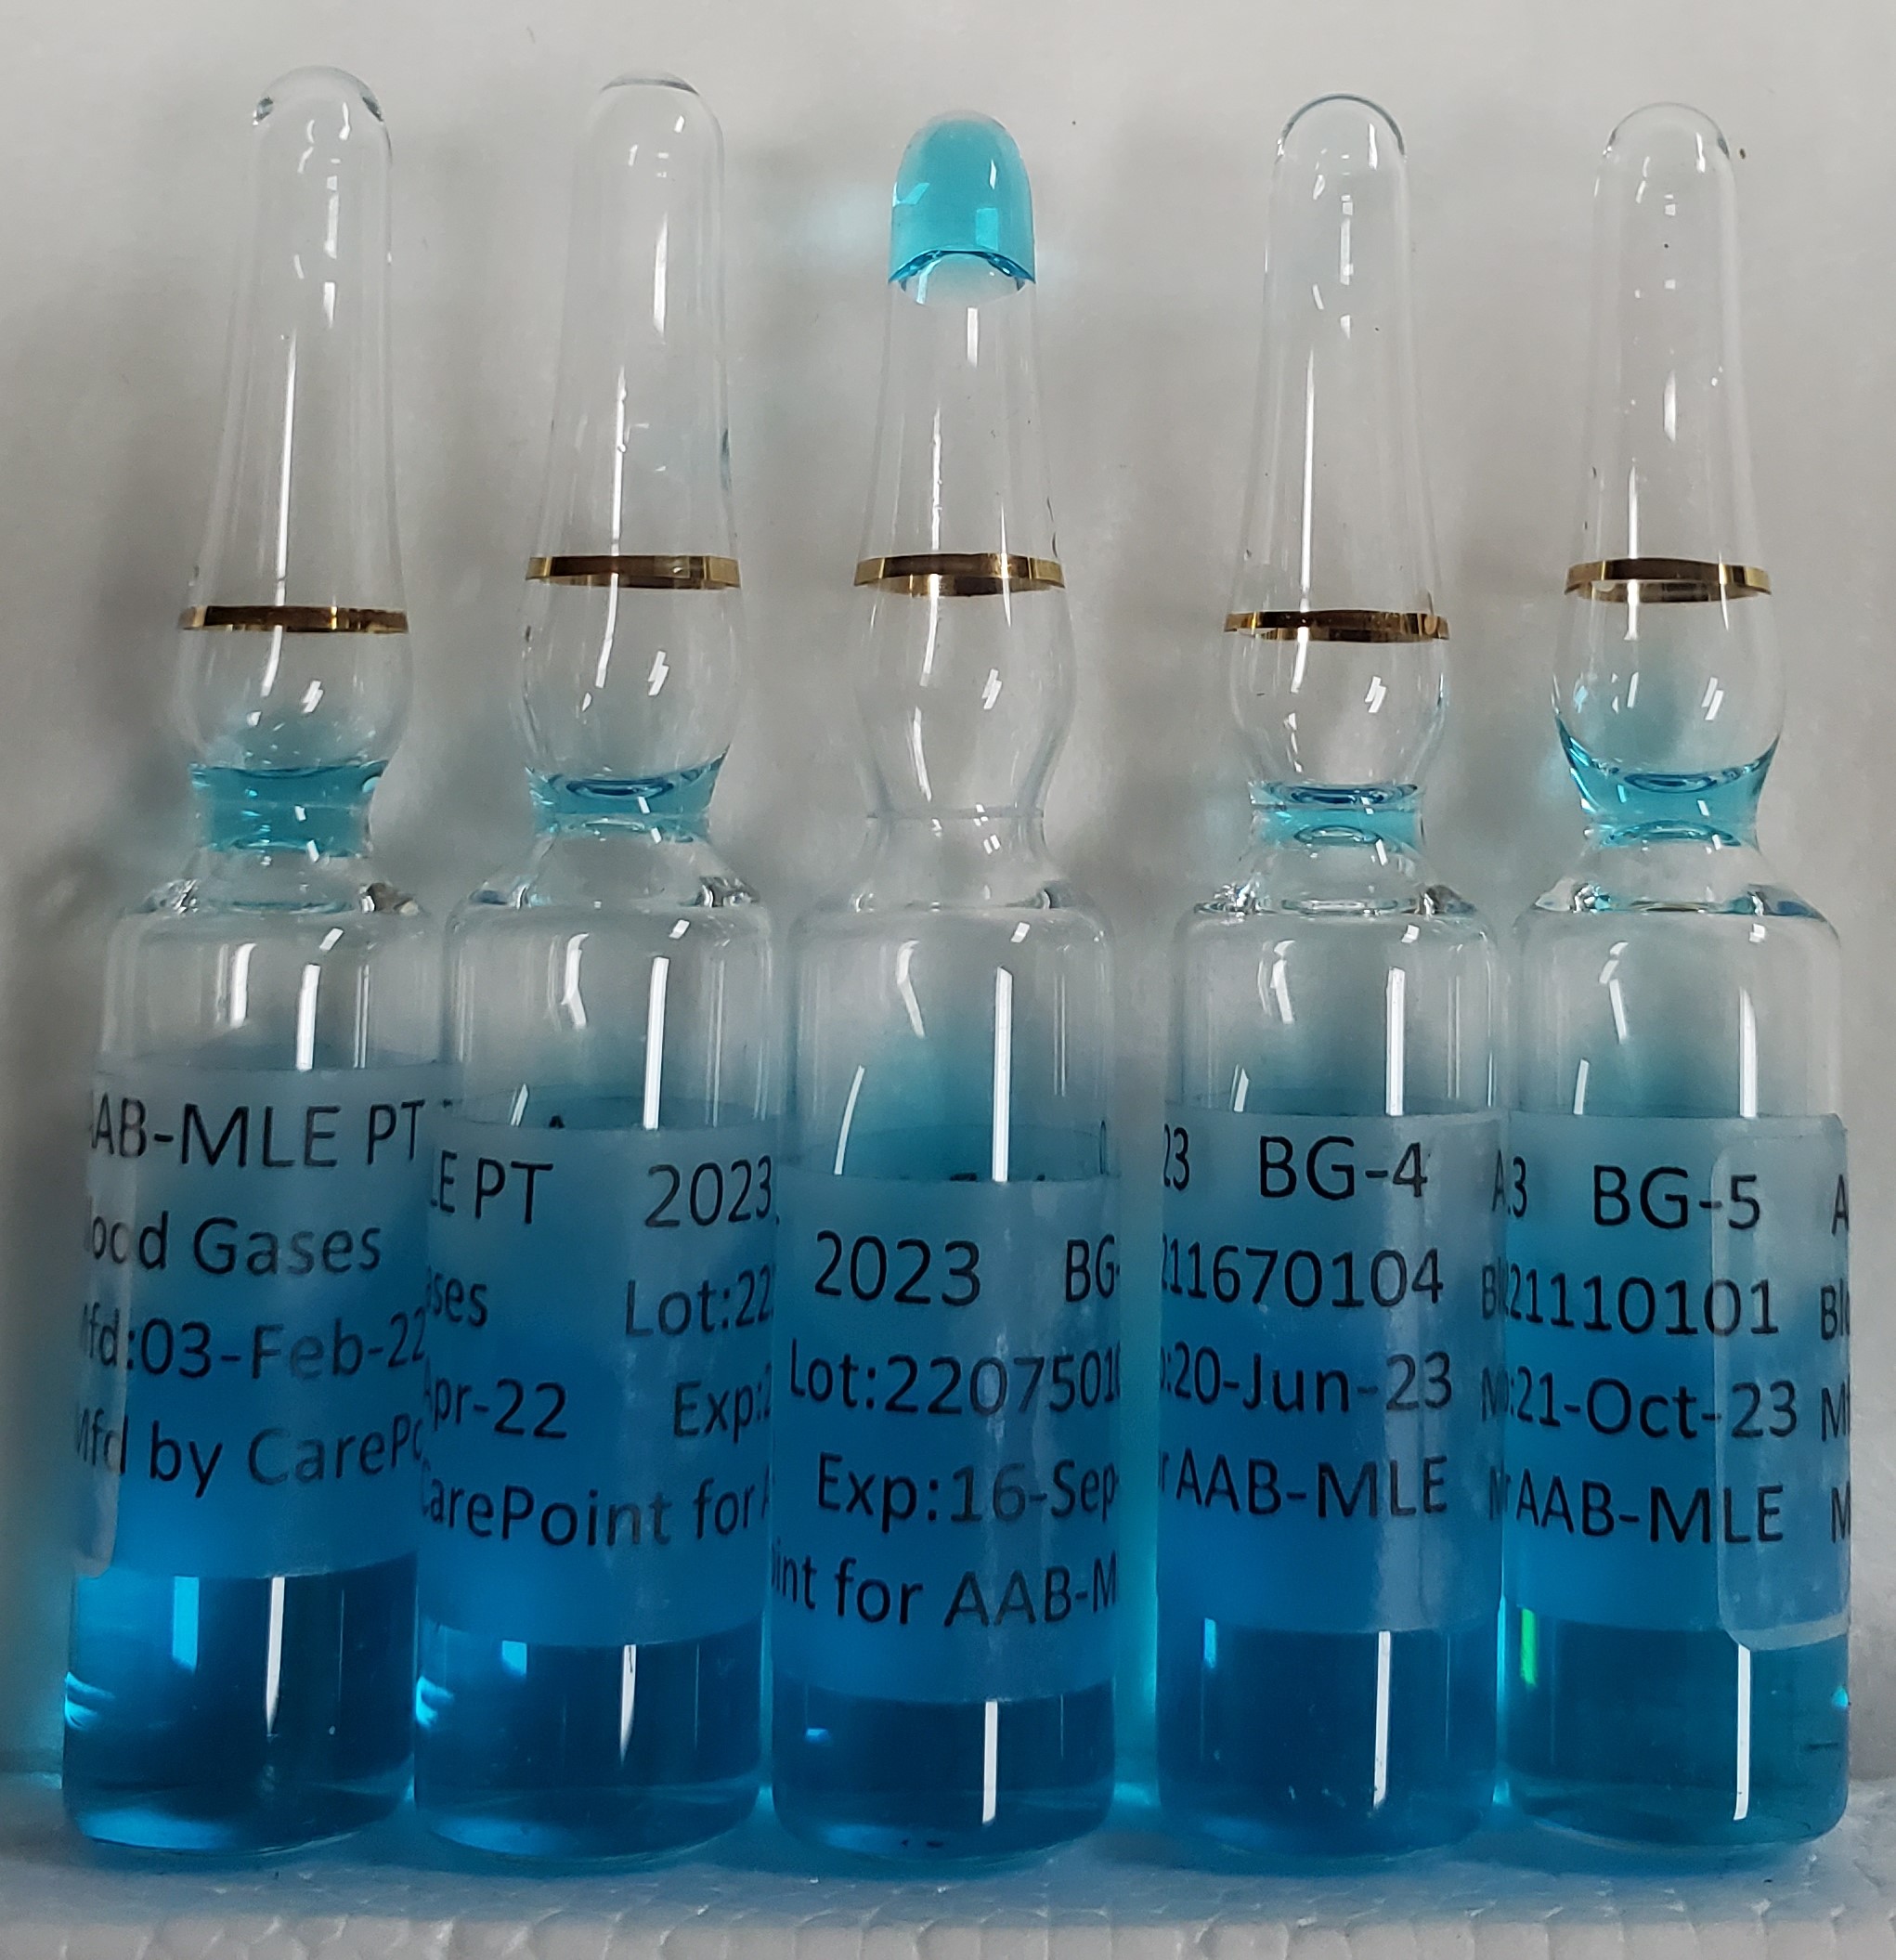
Instructions: BG Specimens
1. Each kit contains duplicate sets of the BG specimens. Remove one set of specimens from the refrigerator and allow four (4) hours to bring them to
room temperature (20-25°C). The second set of specimens should remain in the refrigerator to allow repeat testing at a later date.
2. Shake specimen for at least 15 seconds, holding the ampule between forefinger and thumb in order to avoid increasing the temperature of the
solution.
3. While holding the ampule upright, swirl the specimen to allow all the solution to return to the bottom of the ampule and the bubbles to rise.
If bubbles are not released from the solution, an inappropriate result may be obtained.
4. To avoid injury, protect your fingers with gauze, tissue, or gloves and carefully snap off the neck of the ampule.
5. Per CMS, proficiency specimens must not be tested on more than instrument/method unless that is how patient specimens are normally tested. An
additional instrument can be tested the week after the results deadline, and results can be reported online.
6. Immediately introduce the sample into the instrument(s) in the manner normally used for patient testing.
a. Pipette Transfer: Insert a Pasteur or micropipette into the specimen. Aspirate solution slowly to avoid entrapping air bubbles.Transfer specimen immediately into the cartridge port.
b. Syringe Transfer: Insert a 20 gauge, 1 inch needle fitted to a clean, gas-tight syringe into the specimen. Aspirate solution slowly from the bottom of the ampule to avoid entrapping air bubbles. Expel one or two drops through the needle, detach the needle from the syringe and immediately transfer specimen into the cartridge port.
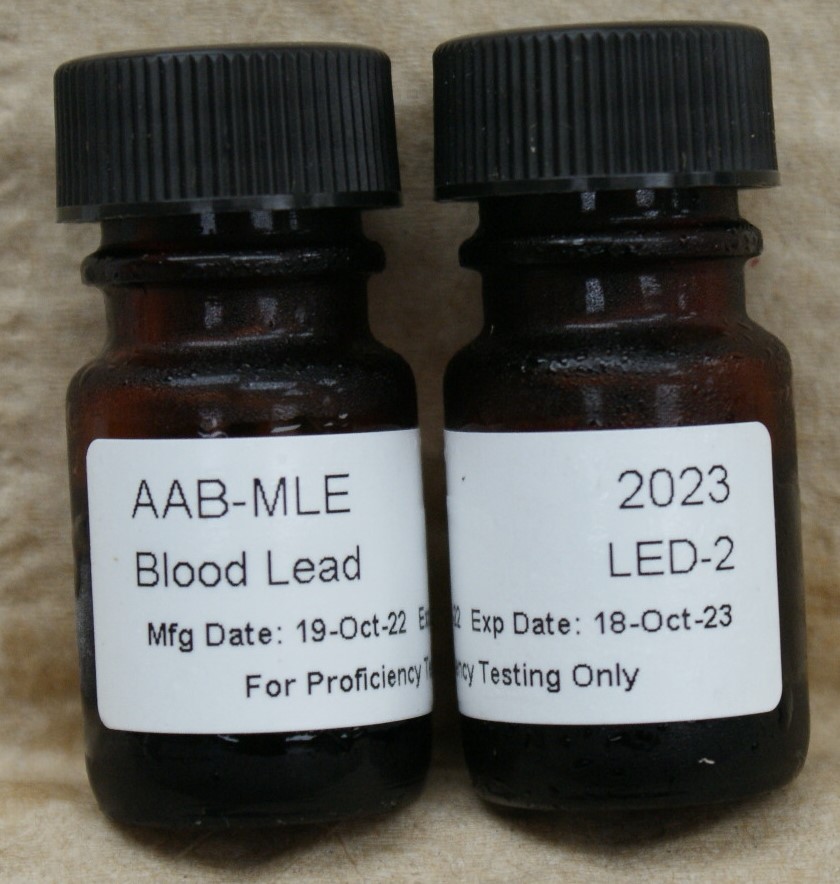
Instructions: LED Specimens
1. These are liquid hemolysate samples .
2. Remove the vials from the refrigerator and warm to room temperature (20-25°C) for at least 10 minutes.
3. Mix the vial gently by inversion at least 3 times (covering all the sides).
4. DO NOT TEST DIRECTLY FROM THE VIAL. Dispense a drop of the specimen onto a hydrophobic surface, such as parafilm or plastic wrap. Apply
your capillary tube or testing strip to this drop.
5. Test each specimen in the same manner as you would test a patient sample. Return the unused portion to the refrigerator. The specimens are stable
for 5 days after they are opened.
Instructions: CK Specimens
1. Remove specimens from the refrigerator and allow them to come to room temperature (20-25°C). This should take about 15-20 minutes.
2. Mix each vial by inversion.
3. Open the vial and remove a portion for testing. Immediately recap the vials and return to the refrigerator.
4. Test the sample in the same manner as you would test a patient sample.
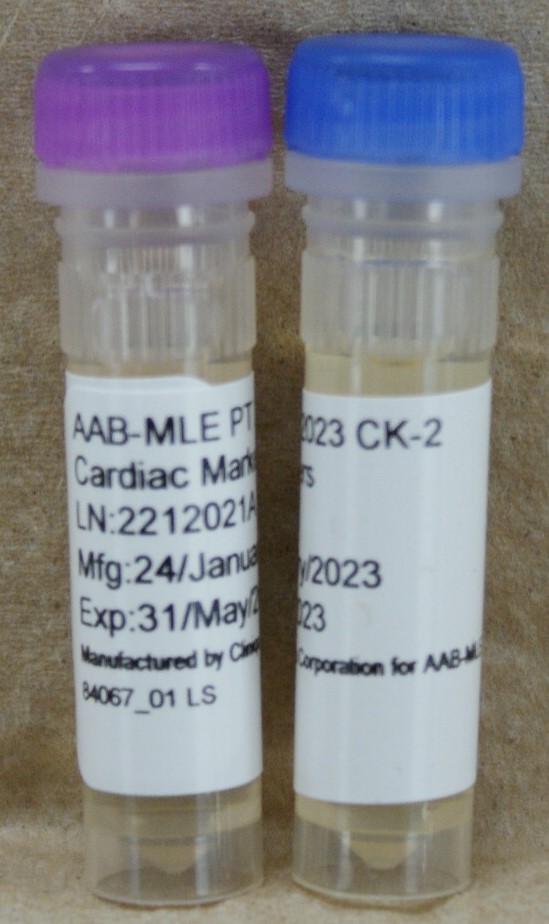
Instructions: CK Specimens
The Cardiac Marker samples are vials containing liquid serum.
1. Remove specimens from the refrigerator and allow them to come to room temperature (20-25°C). This should take about 15-20 minutes.
2. Mix each vial by inversion.
3. Open the vial and remove a portion for testing. Immediately recap the vials and return to the refrigerator.
4. Test the sample in the same manner as you would test a patient sample.

Instructions: CH Specimens
1. These are liquid samples that do not require reconstitution.
If testing samples for Total Bilirubin and CO2, process them within 3 days of opening to avoid excess exposure to light and air, thus causing falsely decreased results. All other analytes must be processed within 7 days of opening.
2. Remove the vials from the refrigerator and warm to room temperature (20-25°C). This should take about 20-25 minutes.
3. Mix each vial by inversion. Invert gently to avoid foaming or bubbling of the specimen.
4. Open the vial and remove a portion for testing. Immediately recap and return to the refrigerator when not in use.
5. Test the sample in the same manner as you would test a patient sample.
NOTE: PTS CardioChek ONLY: Users must run these samples in the QC mode. See your instrument’s User Guide for instructions.
If you need to perform a dilution to obtain a reportable result and your lab does not routinely dilute patient samples, report results as greater than the upper limits of the analyzer by entering >xxx, where xxx equals the instrument upper limit.
6. Complete all testing within 3-7 days of opening the vial. After all testing is finished, store the vials in the freezer until you receive the evaluation of your results. If needed, the sample then can be thawed and retested.
NOTE: Report all your results only in the units requested. If your instrument reports results in any other unit, contact your manufacturer for assistance in converting your results. Be sure to honor the decimal point!
Instructions: CH Specimens
(813 Comprehensive Metabolic Profile)
1. These are liquid samples that do not require reconstitution.
If testing samples for Total Bilirubin and CO2, process them within 3 days of opening to avoid excess exposure to light and air, thus causing falsely decreased results. All other analytes must be processed within 7 days of opening.
2. Remove the vials from the refrigerator and warm to room temperature (20-25°C). This should take about 20-25 minutes.
3. Mix each vial by inversion. Invert gently to avoid foaming or bubbling of the specimen.
4. Open the vial and remove a portion for testing. Immediately recap and return to the refrigerator when not in use.
5. Test the sample in the same manner as you would test a patient sample.
NOTE: PTS CardioChek ONLY: Users must run these samples in the QC mode. See your instrument’s User Guide for instructions.
If you need to perform a dilution to obtain a reportable result and your lab does not routinely dilute patient samples, report results as greater than the upper limits of the analyzer by entering >xxx, where xxx equals the instrument upper limit.
6. Complete all testing within 3-7 days of opening the vial. After all testing is finished, store the vials in the freezer until you receive the evaluation of your results. If needed, the sample then can be thawed and retested.
NOTE: Report all your results only in the units requested. If your instrument reports results in any other unit, contact your manufacturer for assistance in converting your results. Be sure to honor the decimal point!
Instructions: SC Specimens
Perform Estradiol testing as soon after receipt as possible. If testing is to be delayed, the samples must be frozen within 48 hours of receipt. Thaw samples completely at room temperature prior to testing.
1. These are liquid samples that do not require reconstitution. Each vial contains 5 mL of sample.
2. Remove the vials from the refrigerator and warm to room temperature (20-25°C). This should take about 20-25 minutes.
3. Mix each vial by gentle inversion to assure sample homogeneity.
• Do not mix vigorously—avoid foaming.
4. Open the vial and remove a portion for testing. Immediately recap and return to the refrigerator.
• Do not let vials remain at room temperature for an extended period of time.
4. Test the sample in the same manner as you would test a patient sample.
5. Complete all testing within 5 days of opening the vial.
After all testing is finished, store the vials in the freezer until you receive the evaluation of your results. If needed, the sample then can be thawed and retested.
Instructions: CIP Specimens
The endrocrinology samples are vial containing 2.0 mL of lyophilized serum.
Note: PTH is very labile. Test these samples immediately after reconstitution if reporting PTH.
Reconstitute the samples as follows:
1. Add 2.0 mL of reagent grade deionized water with a volumetric pipette.
2. Invert occasionally until completely dissolved (do not shake or vortex).
3. Gently swirl the vial to dissolve the contents of the vial, allowing 3-5 minutes for the material to completely dissolve.
4. After the sample has completely dissolved, mix each vial by gently inverting 5-10 times to ensure sample homogeneity.
5. Test the sample in the same manner as you would test a patient sample.
6. After testing is completed, store the vial in the freezer until you receive the evaluation of your results. If needed, the sample can be thawed and re-tested.
PTH must be tested immediately upon reconstitution or kept frozen. Insulin is good for 2 days when tightly stoppered at 2-8 degrees C.
Instructions: ETG Specimens
(873 Ethyl Glucuronide – Add-On)
1. These are liquid urine samples.
2. Remove the vials from the refrigerator and warm to room temperature (20-25°C).
3. Mix each sample well before testing. Open the vial and remove a portion for testing. Immediately recap the vials and return to the refrigerator.
4. Test each specimen in the same manner as you would test a patient sample. The specimens are stable for 3 days after they are opened.

Instructions: FRT Specimens
Perform Estradiol testing as soon after receipt as possible. If testing is to be delayed, the samples must be frozen within 48 hours of receipt. Thaw samples completely at room temperature prior to testing.
1. These are liquid samples that do not require reconstitution. Each vial contains 5 mL of sample.
2. Remove the vials from the refrigerator and warm to room temperature (20-25°C). This should take about 20-25 minutes.
3. Mix each vial by gentle inversion to assure sample homogeneity.
• Do not mix vigorously—avoid foaming.
4. Open the vial and remove a portion for testing. Immediately recap and return to the refrigerator.
• Do not let vials remain at room temperature for an extended period of time.
4. Test the sample in the same manner as you would test a patient sample.
5. Complete all testing within 5 days of opening the vial.
After all testing is finished, store the vials in the freezer until you receive the evaluation of your results. If needed, the sample then can be thawed and retested.
Instructions: FCH Specimens
These are liquid serum samples ready for testing.
1. Remove specimens from the refrigerator and allow them to come to room temperature (20-25°C). This should take about 10-15 minutes.
2. Open the vial and remove a portion for testing. Immediately recap the vials and return to the refrigerator.
3. Test the sample in the same manner as you would test a patient sample.
Instructions: GH Specimens
1. These are liquid hemolysate samples that do not require reconstitution. Specimens are to be processed as if they were whole (un-hemolyzed) blood, even though they will arrive without the cells intact.
2. Remove the vials from the refrigerator. Mix each vial by gently inverting 5-10 times to ensure sample homogeneity. Do not shake or mix mechanically.After use, immediately recap and return to the refrigerator.
3. Test the sample in the same manner as you would test a patient sample. Complete testing within 7 days of opening, and store the vials in the freezer until you receive the evaluation of your results. If needed, the samples can be thawed and retested.
Complete the testing within 7 days of opening, and store the vials in the freezer until you receive the evaluation of your results. If needed, the samples can be thawed and retested.
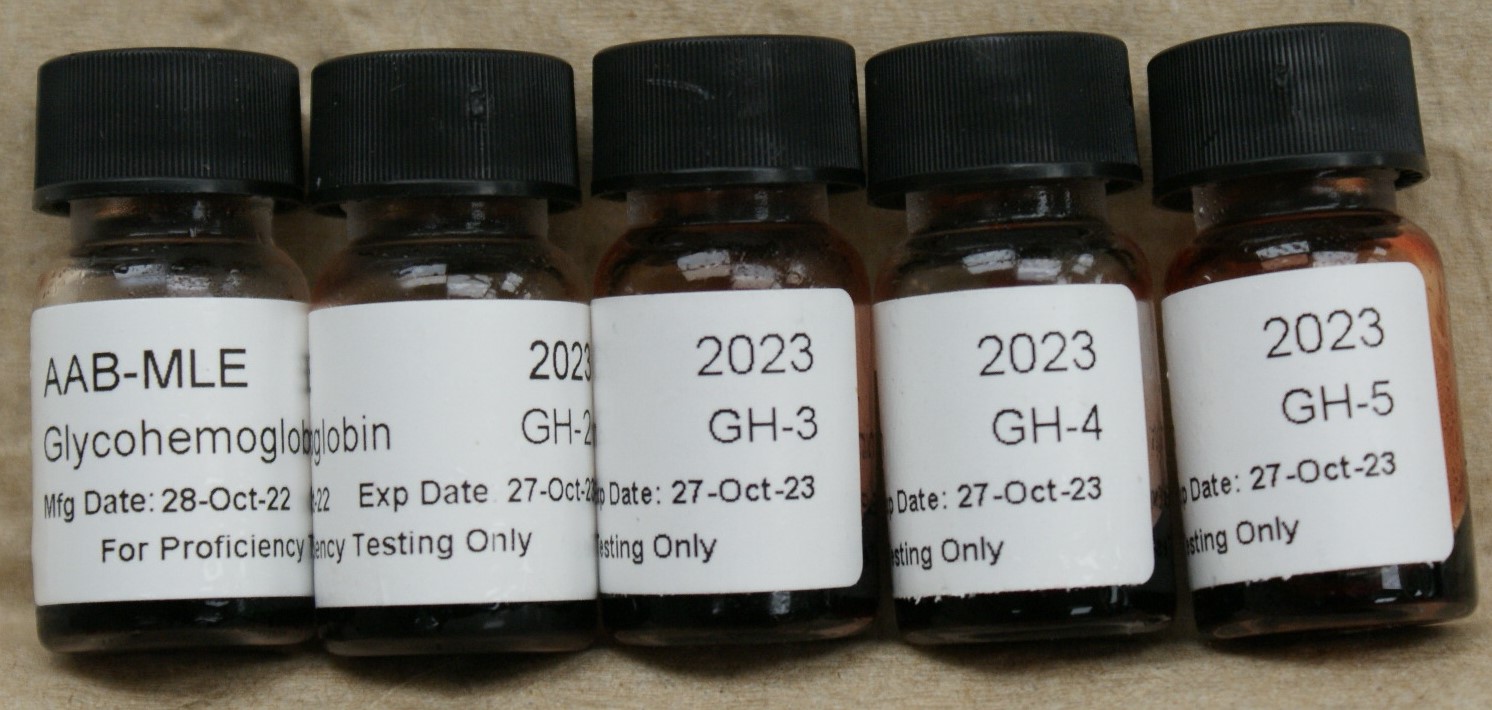
Instructions: GH Specimens
(852 Glycohemoglobin – 5-vial)
1. These are liquid hemolysate samples that do not require reconstitution. Specimens are to be processed as if they were whole (un-hemolyzed) blood, even though they will arrive without the cells intact.
2. Remove the vials from the refrigerator. Mix each vial by gently inverting 5-10 times to ensure sample homogeneity. Do not shake or mix mechanically.After use, immediately recap and return to the refrigerator.
3. Test the sample in the same manner as you would test a patient sample. Complete testing within 7 days of opening, and store the vials in the freezer until you receive the evaluation of your results. If needed, the samples can be thawed and retested.
Complete the testing within 7 days of opening, and store the vials in the freezer until you receive the evaluation of your results. If needed, the samples can be thawed and retested.

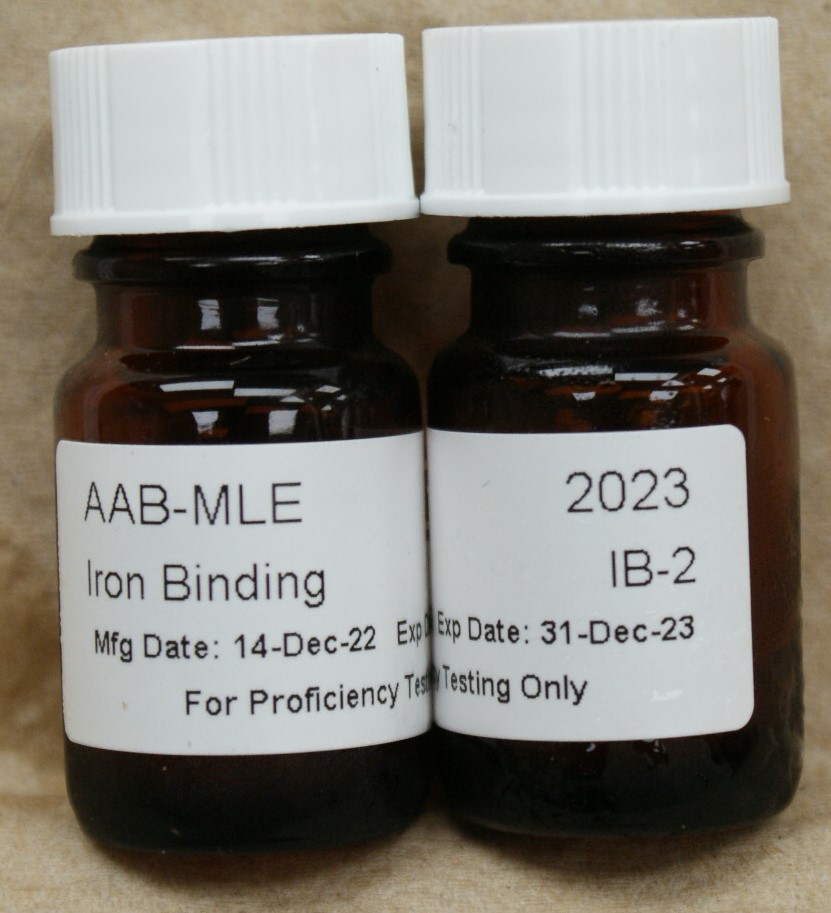
Instructions: IB Specimens
1. Remove specimens from the refrigerator and allow them to come to room temperature (20-25°C). This should take about 15-20 minutes.
2. Mix each vial by inversion.
3. Open the vial and remove a portion for testing. Immediately recap the vials and return to the refrigerator.
4. Test the sample in the same manner as you would test a patient sample.
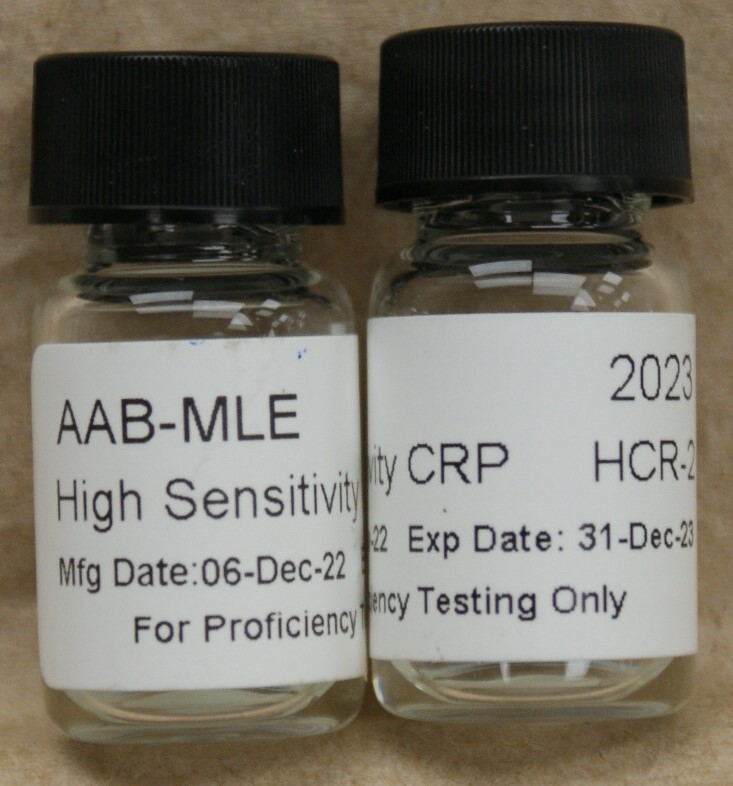
Instructions: HCR Specimens
(765 High Sensitivity C-Reactive Protein)
(777 High Sensitivity C-Reactive Protein – Add-On)
1. Remove the specimens from the refrigerator and warm to room temperature (20-25°C). This should take about 15-20 minutes.
2. Mix each vial by inversion. Test the sample in the same manner as you would test a patient sample.
3. Be sure to record your results in mg/L. You must convert your results to these units to ensure you are graded correctly.
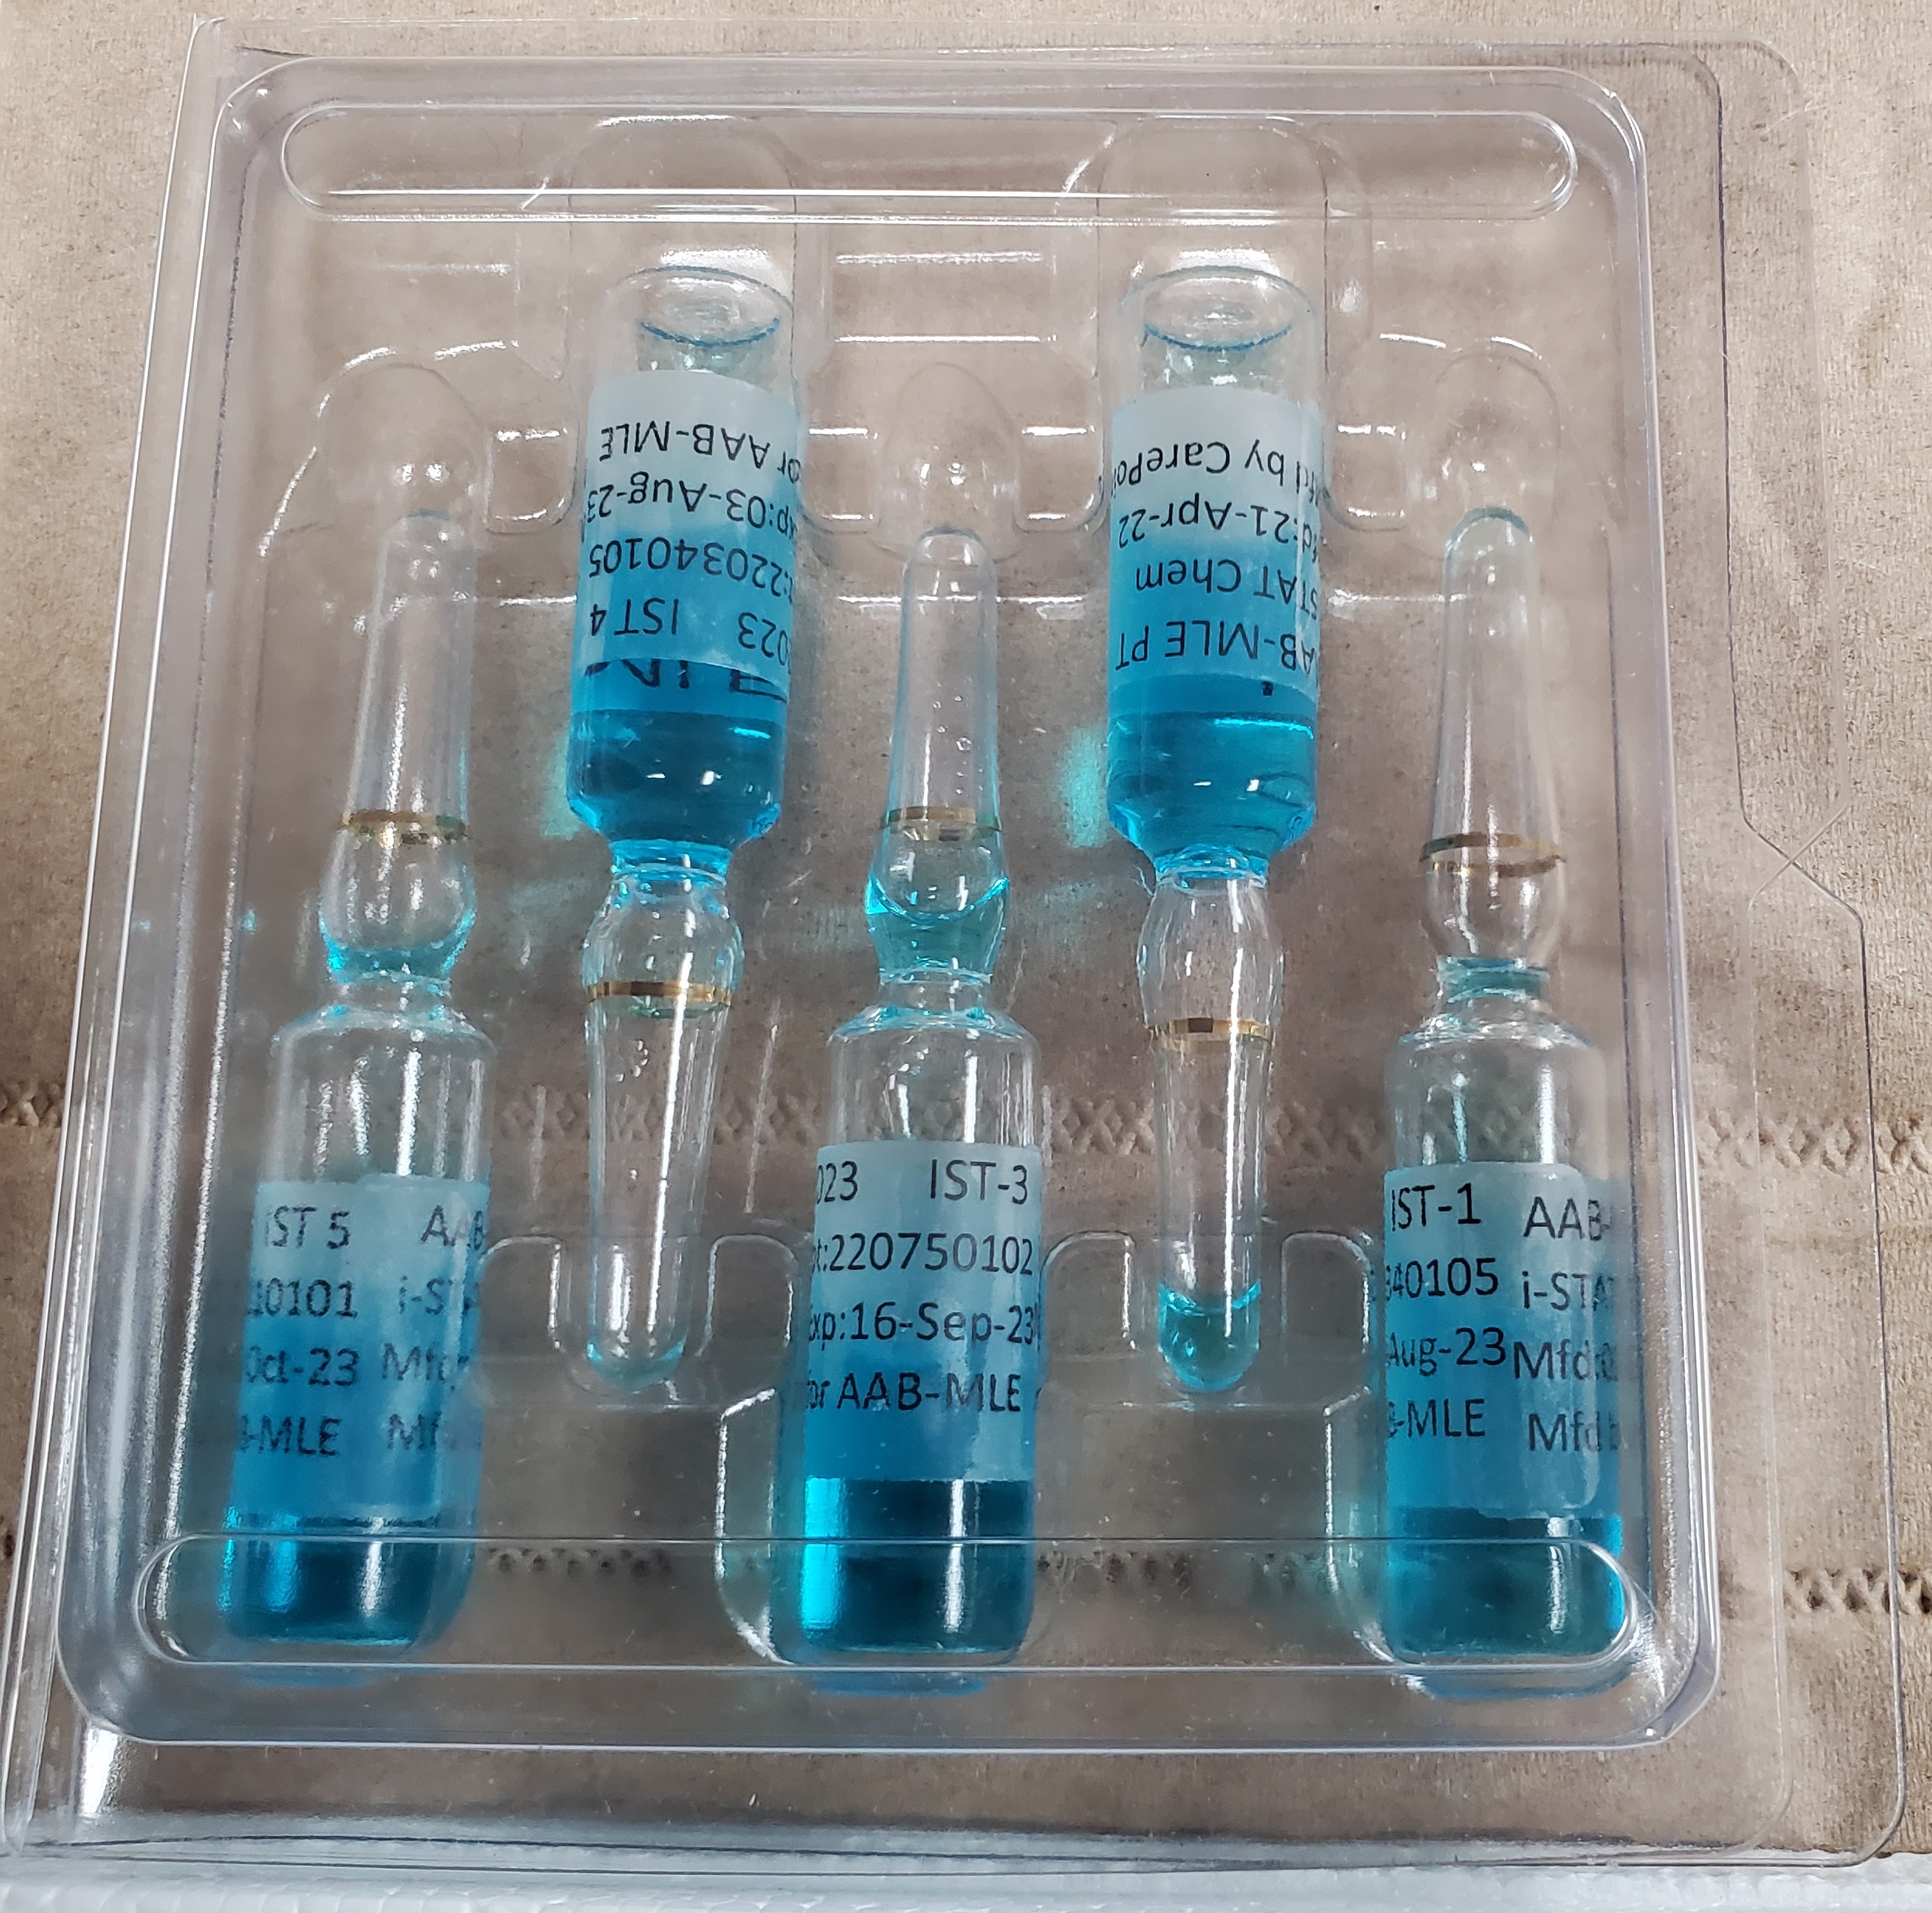
Instructions: IST Specimens
(832 i-STAT Chemistry – Waived)
NOTE: The IST specimens are liquid suspensions. A needle and syringe will be needed to process these specimens.
1. Remove the specimens from the refrigerator and warm to room temperature (20-25°C) for a minimum of 1 hour but not more than 8 hours.
2. While holding the ampule between the thumb and index finger, mix the ampule by shaking vigorously for at least 15 seconds.
3. While holding the ampule upright, swirl the specimen to allow all of the solution to return to the bottom of the ampule and the bubbles to rise.
If bubbles are not released from the solution, an inappropriate result may be obtained.
4. To avoid injury, protect your fingers with gauze or tissue and carefully snap off the top of the ampule.
5. Within 30 seconds of snapping off the neck of the ampule, use a syringe to aspirate the solution and gently load the sample into a testing cartridge.
6. Run the specimen in the Proficiency Test path and record your results. Contact Abbott for instructions on accessing the Proficiency Test path if you
are unfamiliar with this process.

Instructions: CH Specimens
(811 Lipid Panel/Glucose – Waived)
1. These are liquid samples that do not require reconstitution.
2. Remove the vials from the refrigerator and warm to room temperature (20-25°C). This should take about 20-25 minutes.
3. Mix each vial by inversion. Invert gently to avoid foaming or bubbling of the specimen.
4. Open the vial and remove a portion for testing. Immediately recap and return to the refrigerator when not in use.
5. Test the sample in the same manner as you would test a patient sample. NOTE: PTS CardioChek ONLY: Users must run these samples in the QC mode. See your instrument’s User Guide for instructions.
6. Complete all testing within 10 days of opening the vial. After all testing is finished, store the vials in the freezer until you receive the evaluation of your results. If needed, the sample then can be thawed and retested.
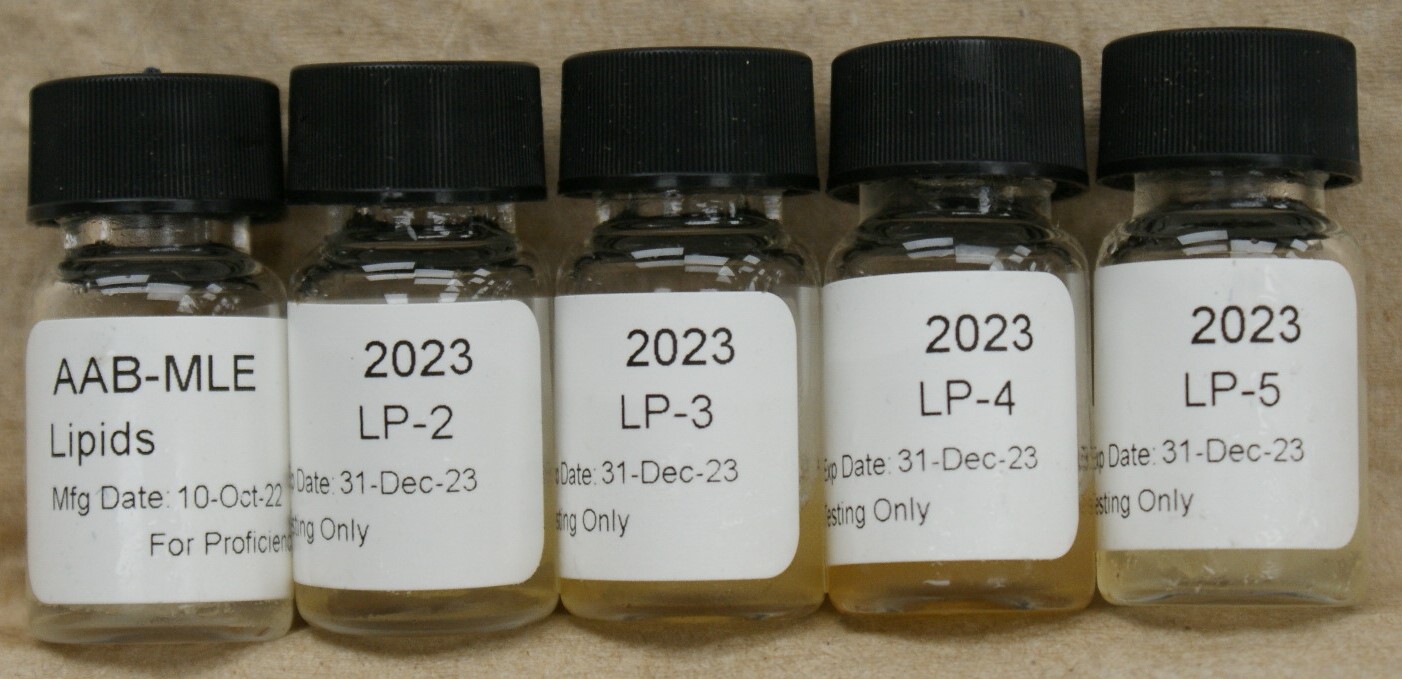
Instructions: LP Specimens
1. These are liquid samples that do not require reconstitution.
2. Remove the vials from the refrigerator and warm to room temperature (20-25°C). This should take about 20-25 minutes.
3. Mix each vial by inversion. Invert gently to avoid foaming or bubbling of the specimen.
4. Open the vial and remove a portion for testing. Immediately recap and return to the refrigerator when not in use.
5. Test the sample in the same manner as you would test a patient sample. NOTE: PTS CardioChek ONLY: Users must run these samples in the QC mode. See your instrument’s User Guide for instructions.
6. Complete all testing within 5 days of opening the vial.
After all testing is finished, store the vials in the freezer until you receive the evaluation of your results. If needed, the sample then can be thawed and retested.
Instructions: NB Specimens
(841 Neonatal/Direct Bilirubin)
1. Each vial contains 1 mL of serum. Specimens are ready to use. Keep vials tightly capped and refrigerated. If they will not be tested immediately, freeze samples at ‐20 degrees C.
2. Bring to room temperature before testing.
3. Do not open the vial until immediately before you are ready to test. Invert gently 5-10 seconds prior to sampling. Avoid foaming or bubbling of the specimen.
4. Open the vial and remove a portion for testing. Immediately recap and return the vial to the refrigerator when not in use. Minimize the sample’s exposure to air and light until testing is completed.
5. Test the sample in the same manner as you would test a patient sample.
VITROS Users: If you are using the VITROS TBIL and BuBc slides to obtain direct bilirubin results, record the Bc slide result reported by your instrument for your direct bilirubin results. Performing a calculated direct bilirubin using the formula TBIL - Bu = DBIL may result in a falsely decreased or even a negative direct bilirubin on AAB-MLE proficiency testing samples. We ask that all laboratories report Bc results only for consistency in grading..
6. Complete all testing within 3 days of opening the vial. After all testing is finished, store the vials in the freezer until you receive the evaluation
of your results. If needed, the sample then can be thawed and retested.

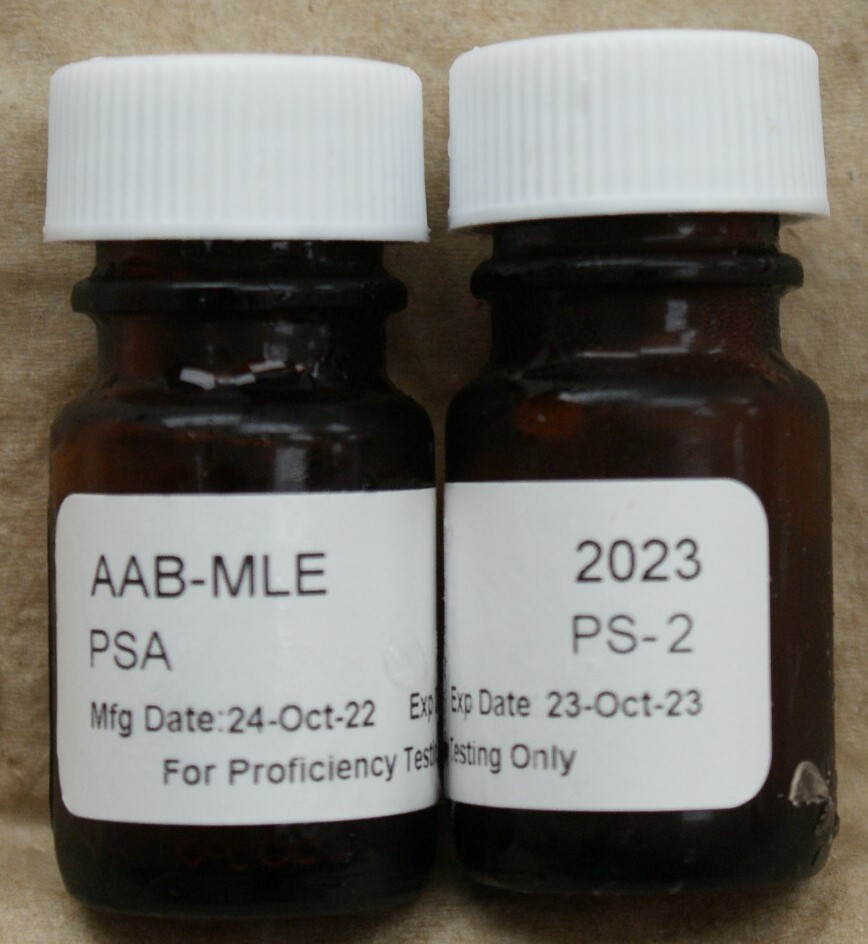
Instructions: PS Specimens
(861 PSA)
(859 PSA – Add-On)
1. These are liquid samples that do not require reconstitution. Each vial contains 5 mL of serum.
2. Remove the vials from the refrigerator. Immediately mix each vial by gentle inversion to assure sample homogeneity.
3. Open the vial and remove a portion for testing. Immediately recap the vials and return to the refrigerator.
4. Test the sample in the same manner as you would test a patient sample.
5. Complete all testing within 5 days of opening the vial.
6. After all testing is completed, store the vials in the refrigerator until you receive the evaluation of your results. If needed, the sample can then be retested.
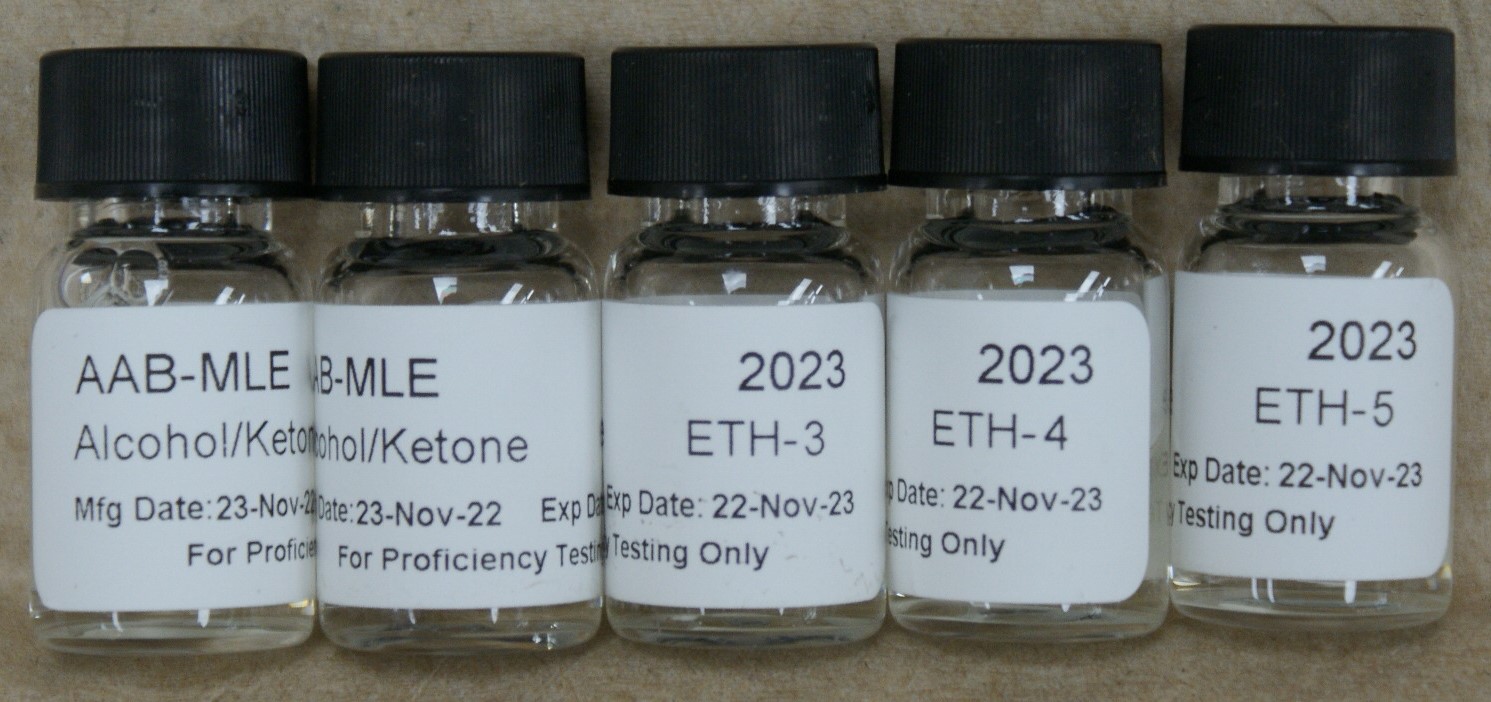
Instructions: ETH Specimens
1. Remove the specimens from the refrigerator and warm to room temperature (20-25°C). This should take about 15-20 minutes.
2. Mix each vial by inversion. Test the sample immediately in the same manner as you would test a patient sample.
3. After sampling, return the vials to the refrigerator within 30 minutes. Complete all testing within 5 days of opening the vials. After all testing is
completed, store the vials in the freezer until you receive the evaluation of your results. If needed, the sample then can be thawed and retested.
Instructions: HCG Specimens
1. These are liquid serum samples that do not require reconstitution. Remove the vials from the refrigerator and warm
to room temperature (20-25°C). This should take about 15 - 20 minutes.
2. Mix each vial by inversion. Invert gently to avoid foaming or bubbling of the specimen.
3. Test sample in the same manner as you would test a patient sample.
4. Complete all testing within 5 days of opening the vial. After all testing is finished, store the vials in the freezer until you receive the
evaluation of your results. If needed, the samples then can be thawed and retested.

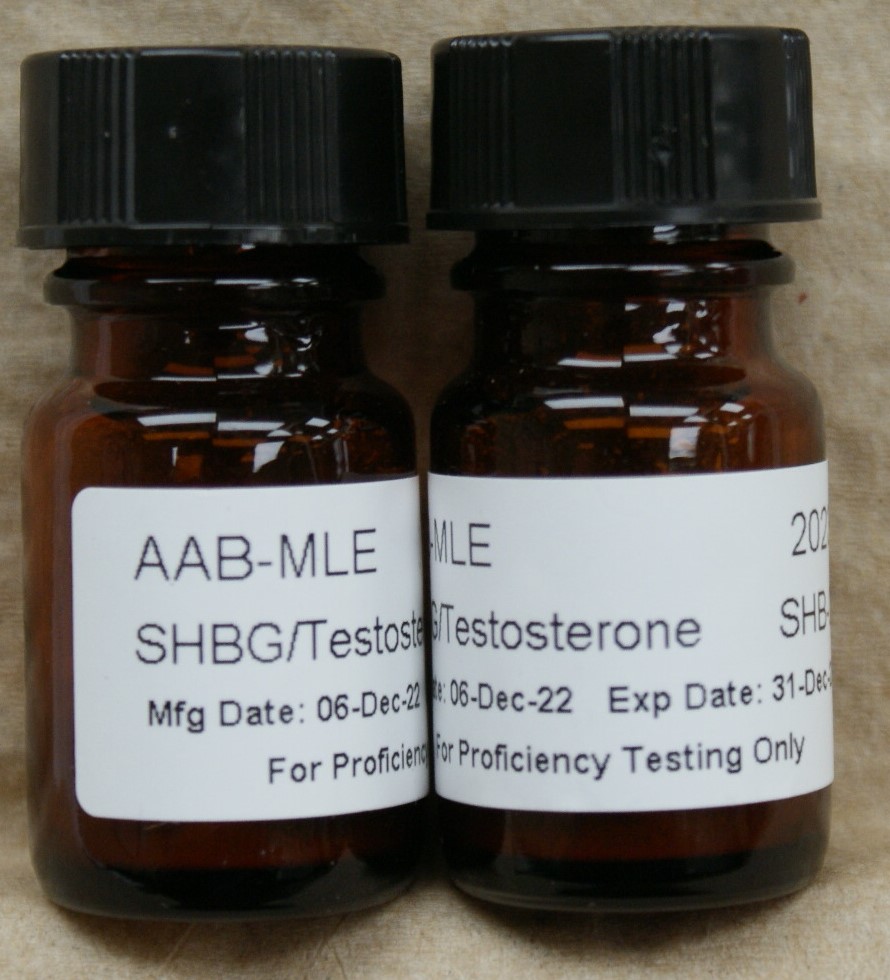
Instructions: SHB Specimens
The SHBG/Testosterone specimens are vials containing lyophilized serum.
1. Remove the specimens from the refrigerator and allow them to come to room temperature (20-25°C). This should take about 10-15 minutes.
2. Using a volumetric pipette, add 2 mL of sterile water to the vial of lyophilized material.
3. Gently swirl the vial to dissolve the contents of the vial completely.
4. After the sample has completely dissolved, mix each vial by gently inverting 5-10 times to ensure sample homogeneity.
5. Open the vial and remove a portion for testing. Immediately recap the vials and return to the refrigerator.
6. Test the sample in the same manner as you would test a patient sample.
7. Complete testing within 2 days of opening the vial. After testing is completed, store the vials in the freezer until you receive the evaluation of your
results. If needed, the samples then can be thawed and re-tested.
Instructions: CH Specimens (Therapeutic Drug)
(830 Therapeutic Drug Monitoring)
(831 Therapeutic Drugs – Add-On)
1. These are liquid samples that do not require reconstitution. Each vial contains 5 mL of serum.
2. Remove the vials from the refrigerator and warm to room temperature (20-25°C). This should take about 20-25 minutes.
3. Mix each vial by inversion. Invert gently to avoid foaming or bubbling of the specimen.
4. Open the vial and remove a portion for testing. Immediately recap and return to the refrigerator when not in use.
5. Test the sample in the same manner as you would test a patient sample.
6. Complete all testing within 7 days of opening the vial. After all testing is finished, store the vials in the freezer until you receive the evaluation of your results. If needed, the sample then can be thawed and retested.
Instructions: THY Specimens
1. Remove the specimens from the refrigerator and warm to room temperature (20-25°C). This should take about 15-20 minutes.
2. Mix each vial by inversion. Test the sample immediately in the same manner as you would test a patient sample.
3. After sampling, return the vials to the refrigerator within 30 minutes. Complete all testing within 3 days of opening the vials. After all testing is completed, store the vials in the refrigerator until you receive the evaluation of your results. If needed, the sample then can be retested.
Instructions: CH Specimens (Thyroid Profile)
1. These are liquid samples that do not require reconstitution.
2. Remove the vials from the refrigerator and warm to room temperature (20-25°C). This should take about 20-25 minutes.
3. Mix each vial by inversion. Invert gently to avoid foaming or bubbling of the specimen.
4. Open the vial and remove a portion for testing. Immediately recap and return to the refrigerator when not in use.
If you need to perform a dilution to obtain a reportable result and your lab does not routinely dilute patient samples, report results as greater than the upper limits of the analyzer by entering >xxx, where xxx equals the instrument upper limit.
6. Complete all testing within 7 days of opening the vial. After all testing is finished, store the vials in the freezer until you receive the evaluation of your results. If needed, the sample then can be thawed and retested.
7. Enter your results in the result boxes. Report results in the “units” requested. Be sure to honor the decimal point!
NOTE: Free Thyroxine is a measured analyte. It is not the same as a calculated Free Thyroxine Index (FTI). Only the measured analyte should be recorded on your test result form.
NOTE: Report all your results only in the units requested. If your instrument reports results in any other unit, contact your manufacturer for assistance in converting your results.
Instructions: CH Specimens
These are liquid serum samples ready for testing.
1. Remove specimens from the refrigerator and allow them to come to room temperature (20-25°C). This should take about 10-15 minutes.
2. Open the vial and remove a portion for testing. Immediately recap the vials and return to the refrigerator.
3. Test the sample in the same manner as you would test a patient sample.
Instructions: TM Specimens
1. These are liquid samples that do not require reconstitution. Each vial contains 2 mL of serum.
2. Remove the vials from the refrigerator and warm to room temperature (20-25°C). This should take about 20-25 minutes.
3. Mix each vial by gently inverting 5-10 times to ensure sample homogeneity.
4. Open the vial and remove a portion for testing. Immediately recap and return to the refrigerator.
• Do not let vials remain at room temperature for an extended period of time.
5. Test the sample in the same manner as you would test a patient sample.
6. Complete all testing within 5 days of opening the vial. After all testing is finished, store the vials in the freezer until you receive the evaluation of your results. If needed, the sample then can be thawed and retested.
Instructions: UCH Specimens
1. These are liquid urine samples.
2. Remove the vials from the refrigerator and warm to room temperature (20-25°C). This should take about 15-20 minutes.
3. Mix each sample well before testing. Open the vial and remove a portion for testing. Immediately recap the vials and return to the refrigerator
4. Test each specimen in the same manner as you would test a patient sample. The specimens are stable for 3 days after they are opened.
Instructions: UDS Specimens
1. Remove the specimens from the refrigerator and warm to room temperature (20-25°C). This should take about 15-20 minutes.
2. Mix the sample by inverting gently to avoid foaming.
3. Test the sample in the same manner as you would test a patient’s urine, following your manufacturer’s instructions.
4. Store the specimen in the refrigerator when not in use. Keep it refrigerated until you receive the evaluation of your results. If needed, the sample can
then be retested.
When present, drugs are spiked at greater than the minimum target concentrations listed below the analyte name on the reporting form worksheet.
These concentrations are not cut-off values.
Drugs of Abuse Category |
Minimum Target Concentrations |
Drugs of Abuse Category |
Minimum Target Concentrations |
|
Alcohol (Ethanol) |
0.050% or 50 mg/dL |
MDMA (Ecstasy) |
500 ng/mL |
|
Acetaminophen |
0.4 μg/mL |
Methadone (Dolophine) |
300 ng/mL |
|
Amphetamines (dl-Amphetamine, d-Methamphetamine) |
1000 ng/mL |
Methadone Metabolite |
100 ng/mL |
|
Barbiturates (Secobarbital) |
300 ng/mL |
Methaqualone (Qualudes) |
300 ng/mL |
|
Benzodiazepines (Diazepam) |
300 ng/mL |
Methamphetamine |
1000 ng/mL |
|
Buprenorphine |
20 ng/mL |
Opiates (Morphine) |
2000 ng/mL |
|
Cannabinoids (11-nor-delta-9-THC-carboxylic acid) |
100 ng/mL |
Oxycodone |
100 ng/mL |
|
Cocaine Metabolite (Benzoylecgonine) |
300 ng/mL |
Phencyclidine (PCP) |
25 ng/mL |
|
Cotinine |
200 ng/mL |
Propoxyphene (Darvon) |
300 ng/mL |
|
Fentanyl |
0.05 μg/mL |
Tramadol |
500 ng/mL |
|
LSD |
0.5 ng/mL |
Tricyclic Antidepressants (Amitriptyline) |
1000 ng/mL |
|
6-MAM |
20 ng/mL |
Zolpidem |
0.08 μg/mL |
|
Instructions: CH Specimens
1. These are liquid samples that do not require reconstitution.
If testing samples for Total Bilirubin and CO2, process them within 3 days of opening to avoid excess exposure to light and air, thus causing falsely decreased results. All other analytes must be processed within 7 days of opening.
2. Remove the vials from the refrigerator and warm to room temperature (20-25°C). This should take about 20-25 minutes.
3. Mix each vial by inversion. Invert gently to avoid foaming or bubbling of the specimen.
4. Open the vial and remove a portion for testing. Immediately recap and return to the refrigerator when not in use.
5. Test the sample in the same manner as you would test a patient sample.
NOTE: PTS CardioChek ONLY: Users must run these samples in the QC mode. See your instrument’s User Guide for instructions.
If you need to perform a dilution to obtain a reportable result and your lab does not routinely dilute patient samples, report results as greater than the upper limits of the analyzer by entering >xxx, where xxx equals the instrument upper limit.
6. Complete all testing within 3-7 days of opening the vial. After all testing is finished, store the vials in the freezer until you receive the evaluation of your results. If needed, the sample then can be thawed and retested.
NOTE: Report all your results only in the units requested. If your instrument reports results in any other unit, contact your manufacturer for assistance in converting your results. Be sure to honor the decimal point!
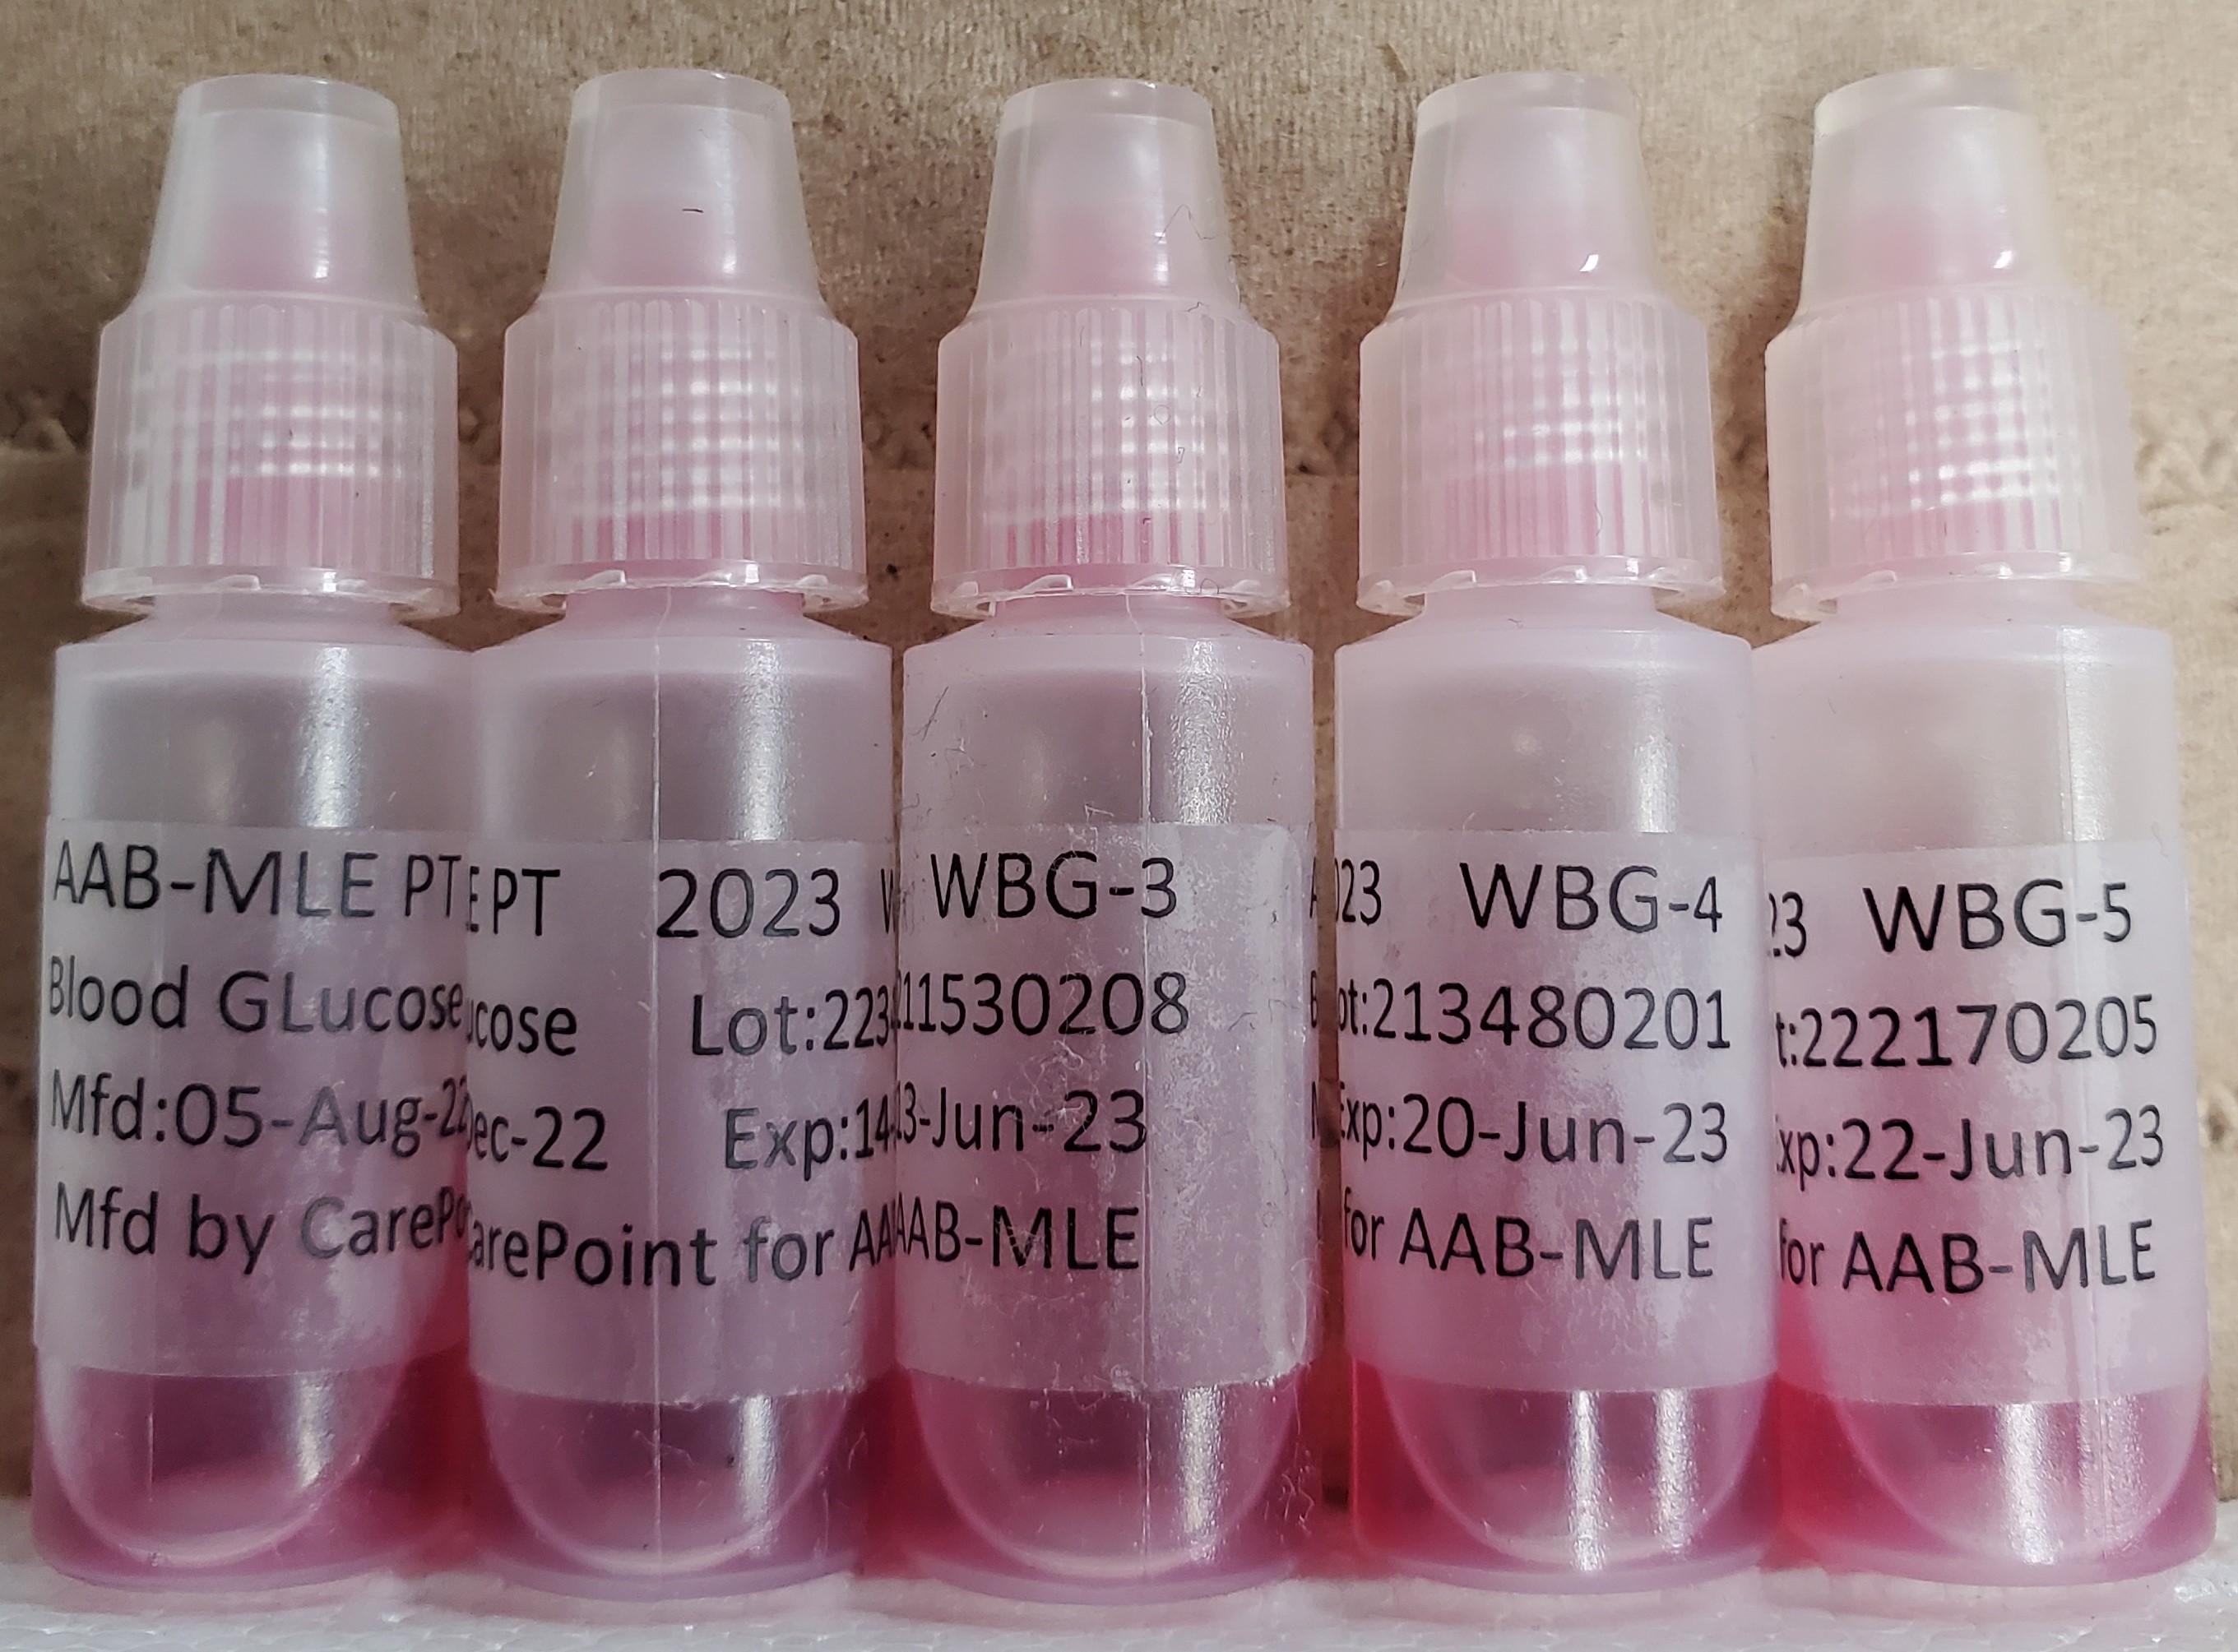
Instructions: WBG Specimens
(871 Whole Blood Glucose – Waived) Return to PPM Package
NOTE: These specimens are NOT whole blood. They are plasma-based material that does not contain red blood cells.
1. Remove the vials from the refrigerator and warm to room temperature (20-25°C). This should take about 15-20 minutes.
2. Mix each vial by inverting. DO NOT TEST DIRECTLY FROM THE VIAL. Dispense a drop of the specimen onto a hydrophobic surface, such as
parafilm or plastic wrap. Apply your testing strip or cuvette to this drop.
Arkray Platinum users: Proficiency Testing samples must be run in the Control Mode. Failure to do so can cause
falsely elevated results.
3. After sampling, wipe the dropper tip and threads of each vial and cap clean. Replace cap and return to refrigerator. These samples are stable for
30 days once opened.
4. Per CMS, proficiency specimens must not be tested on more than instrument/method unless that is how patient specimens are normally tested. The
specimens may be tested again the week after the results deadline, and results from additional sites/instruments can be reported online.