
PPM and Urinalysis Program Modules
Instructions: OC Specimens Return to PPM Package
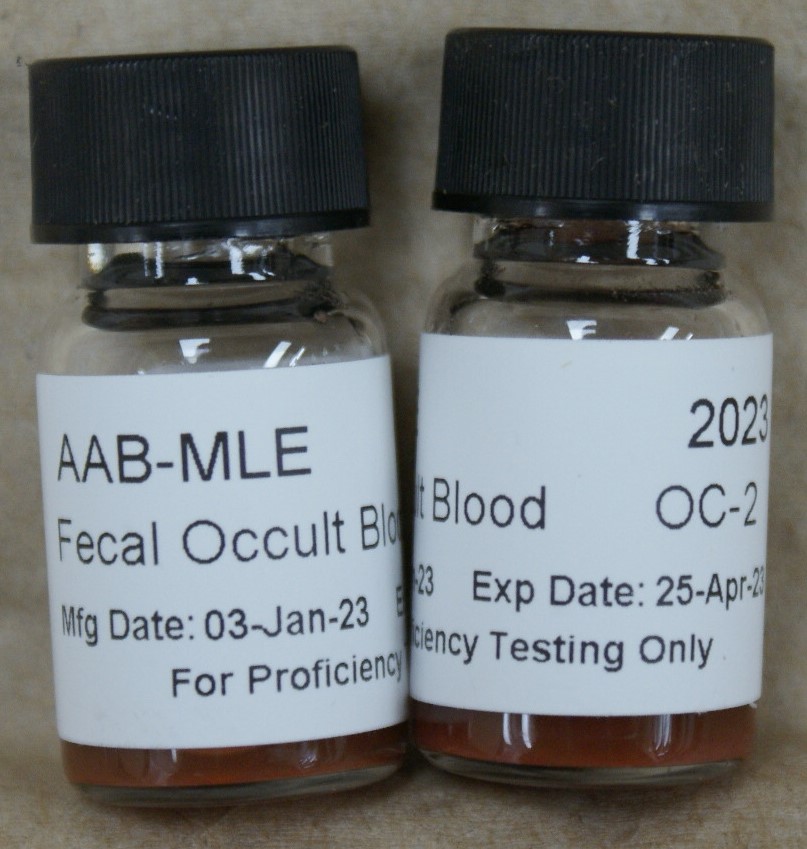
(537 Fecal Occult Blood – Add-On)
1. Remove specimens from the refrigerator and allow them to warm to room temperature (20-25°C).
2. Before testing, mix the specimen by gently inverting.
3. If you are using a card or slide Guaiac method: Apply a small amount of specimen directly to the testing area and proceed as you would a
routine patient.
4. If you are using an immunoassay method: Test these specimens in the same manner as you would a control sample. Be sure to mix the sample
well before proceeding.
4. Per CMS, proficiency specimens must not be tested on more than one test kit/method unless that is how patient specimens are normally tested. The
specimens may be tested again the week after the results deadline, and results from additional sites/kits/methods can be reported online.
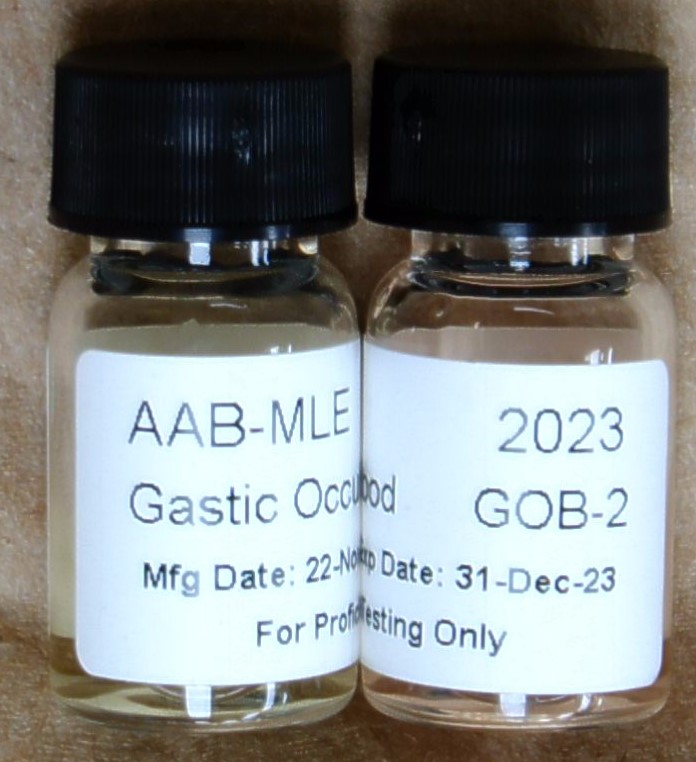
Instructions: GOB Specimen
2 simulated gastric specimens.
1. Remove sample from the refrigerator and allow to come to room temperature (20-25°C) for 15-30 minutes.
2. Mix sample by inverting gently.
3. Test the sample as you would test a patient, according to your kit manufacturer instructions.
Instructions: PPM Specimens
(534 Provider Performed Microscopy PPM) Return to PPM Package
(535 PPM – Add-On)
1. Identify the designated cells or structures on the photographs. The stain and magnification are listed below each photograph.
2. Select your response from the dropdown list on the online reporting form.
NOTE: There should only be one result in each column. If multiple cells or structures are present on the photograph, identify only what is arrowed.
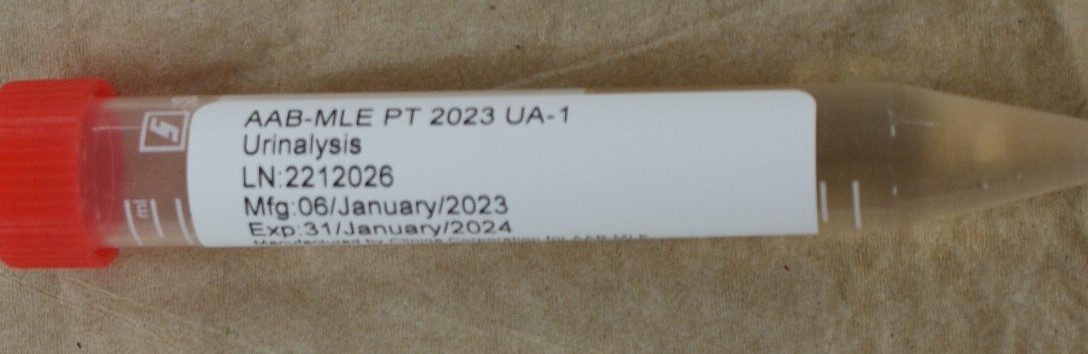
Instructions: UA Specimen Return to PPM Package
1. Remove the urine specimen from the refrigerator. Warm the specimen to room temperature (20-25°C). This should take about 15-20 minutes.
2. Before testing, mix the specimen by gently inverting 5 times.
• Do not shake vigorously.
3. Immerse the urinalysis dipstick directly into the vial as if it were a patient specimen. Immediately recap the vial.
4. Read the dipstick, visually or with an instrument reader, in accordance with the manufacturer’s instructions.
5. Store the specimen in the refrigerator when not in use. Sample is stable for 14 days after opening so complete all testing within this time frame.
NOTE: If your dipstick is read by an instrument, enter the code for the instrument. The specific dipstick codes should be used only if you visually read the strip.
Urine Sediment Photos
Identify the designated cells or structures on the photographs. The stain and magnification are listed below each photograph.
NOTE: There should only be one result in each photo specimen. If multiple cells or structures are present on the photograph, identify only what is arrowed.
Instructions: UA Specimen
1. Remove the urine specimen from the refrigerator. Warm the specimen to room temperature (20-25°C). This should take about 15-20 minutes.
2. Before testing, mix the specimen by gently inverting 5 times.
• Do not shake vigorously.
3. Immerse the urinalysis dipstick directly into the vial as if it were a patient specimen. Immediately recap the vial.
4. Read the dipstick, visually or with an instrument reader, in accordance with the manufacturer’s instructions.
5. Store the specimen in the refrigerator when not in use. Sample is stable for 14 days after opening so complete all testing within this time frame.
NOTE: If your dipstick is read by an instrument, enter the code for the instrument. The specific dipstick codes should be used only if you visually read the strip.
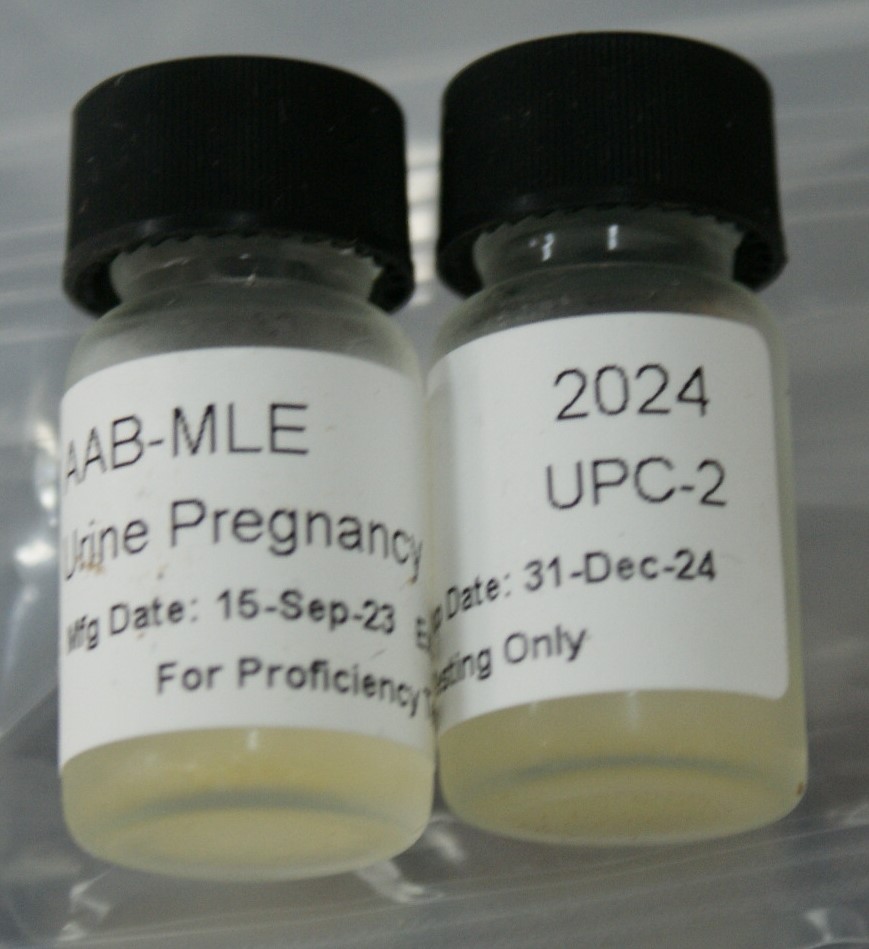
Instructions: UPC Specimen
(550 Urine Pregnancy – 2 Vial)
1. Remove the urine specimen from the refrigerator. Warm the specimen to room temperature (20-25°C). This should take about 15-20 minutes.
2. Before testing, mix the specimen by gently inverting 5 times. Do not shake vigorously.
3. Test the sample for urine hCG in the same manner as you would test patient urine. Follow the manufacturer’s instructions.
4. Store the specimen in the refrigerator when not in use. Keep it refrigerated until you receive the evaluation of your results. If needed, the sample can then be retested. Do not freeze the sample.
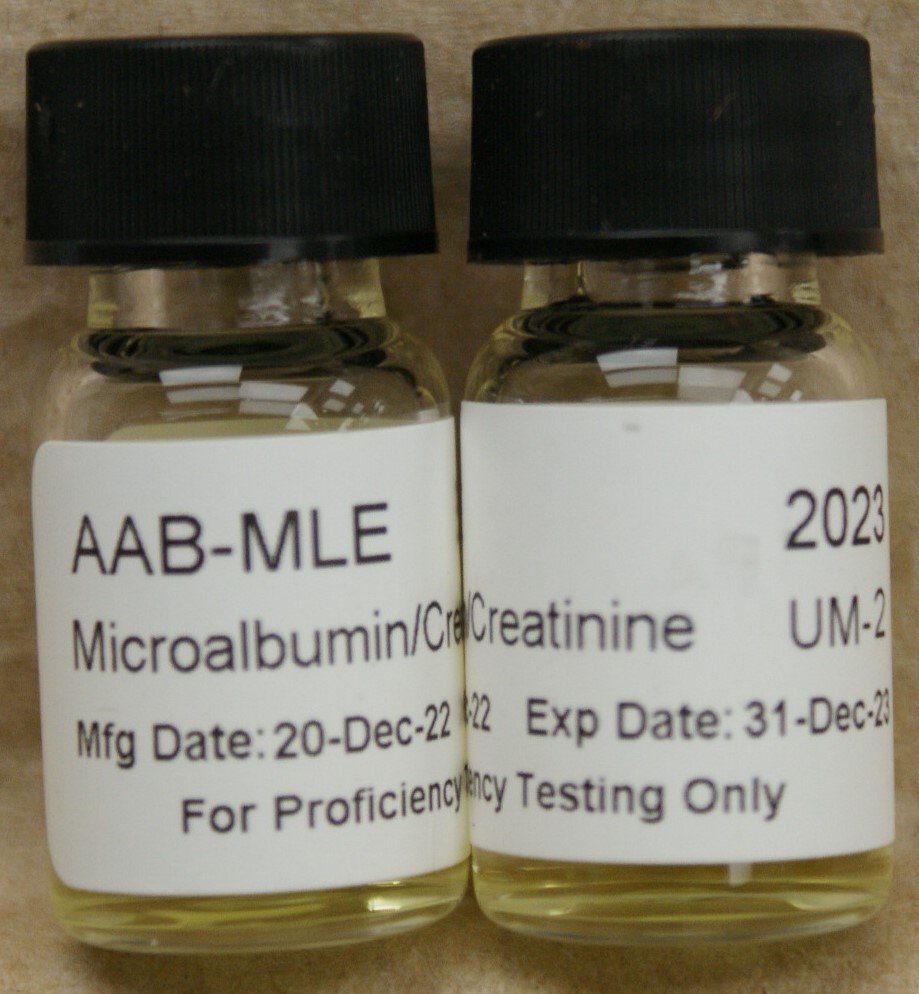
Instructions: UM Specimen
(539 Urine Microalbumin/Creatinine)
(536 Urine Microalbumin/Creatinine – Add-On)
1. Remove sample from the refrigerator and allow to come to room temperature (20-25°C) for 15-30 minutes.
2. Mix sample by inverting gently to avoid foaming.
3. Test the sample as you would test a patient, according to your reagent strip or instrument instructions.
NOTE: Do not make dilutions.
Instructions: UA Specimen Return to PPM Package
1. Remove the urine specimen from the refrigerator. Warm the specimen to room temperature (20-25°C). This should take about 15-20 minutes.
2. Before testing, mix the specimen by gently inverting 5 times. Do not shake vigorously.
3. Test the sample for urine hCG in the same manner as you would test patient urine. Follow the manufacturer’s instructions.
4. Store the specimen in the refrigerator when not in use. Keep it refrigerated until you receive the evaluation of your results. If needed, the sample can
then be retested.
Do not freeze the specimen.
(532 Urine Sediment Identification)
(533 Urine Sediment Identification – Add-On)
1. Identify the designated cells or structures on the photographs. The stain and magnification are listed below each photograph.
2. Record your results by entering the result code corresponding to the correct response for each photograph.
NOTE: There should only be one result in each column. If multiple cells or structures are present on the photograph, identify only what is arrowed.